Publishing Items
Publishing an Item on the Marketplace
This comprehensive guide outlines the process for publishing an item within the Marketplace, thereby rendering it discoverable and accessible to other users. Remember, publishing items can only be done if you have the add-on Publisher license purchased for your tenant and the Publisher seat assigned to you.
Estimated Time:
The duration required to publish an item is variable and contingent upon factors such as the complexity of the item, the volume of information provided, file size, and the time necessitated for security scans and admin review and approval.
Before You Begin:
To ensure a streamlined publishing experience, you should gather the following information and prepare any prerequisite files in advance:
- Essential Item Details: You need a clear and compelling title, a detailed and informative description, and accurate pricing details.
- Relevant Files: You should prepare any files intended for inclusion with your item, such as source files, a logo, a
READMEfile, or a user manual. - Cloud Storage Prerequisites (if applicable): If your item's source files are hosted on a cloud storage service (Google Cloud Platform, Azure, or Amazon Web Services), you must ensure that the specific prerequisites for sharing files from your chosen platform have been fulfilled. Detailed instructions regarding cloud storage prerequisites are provided here.
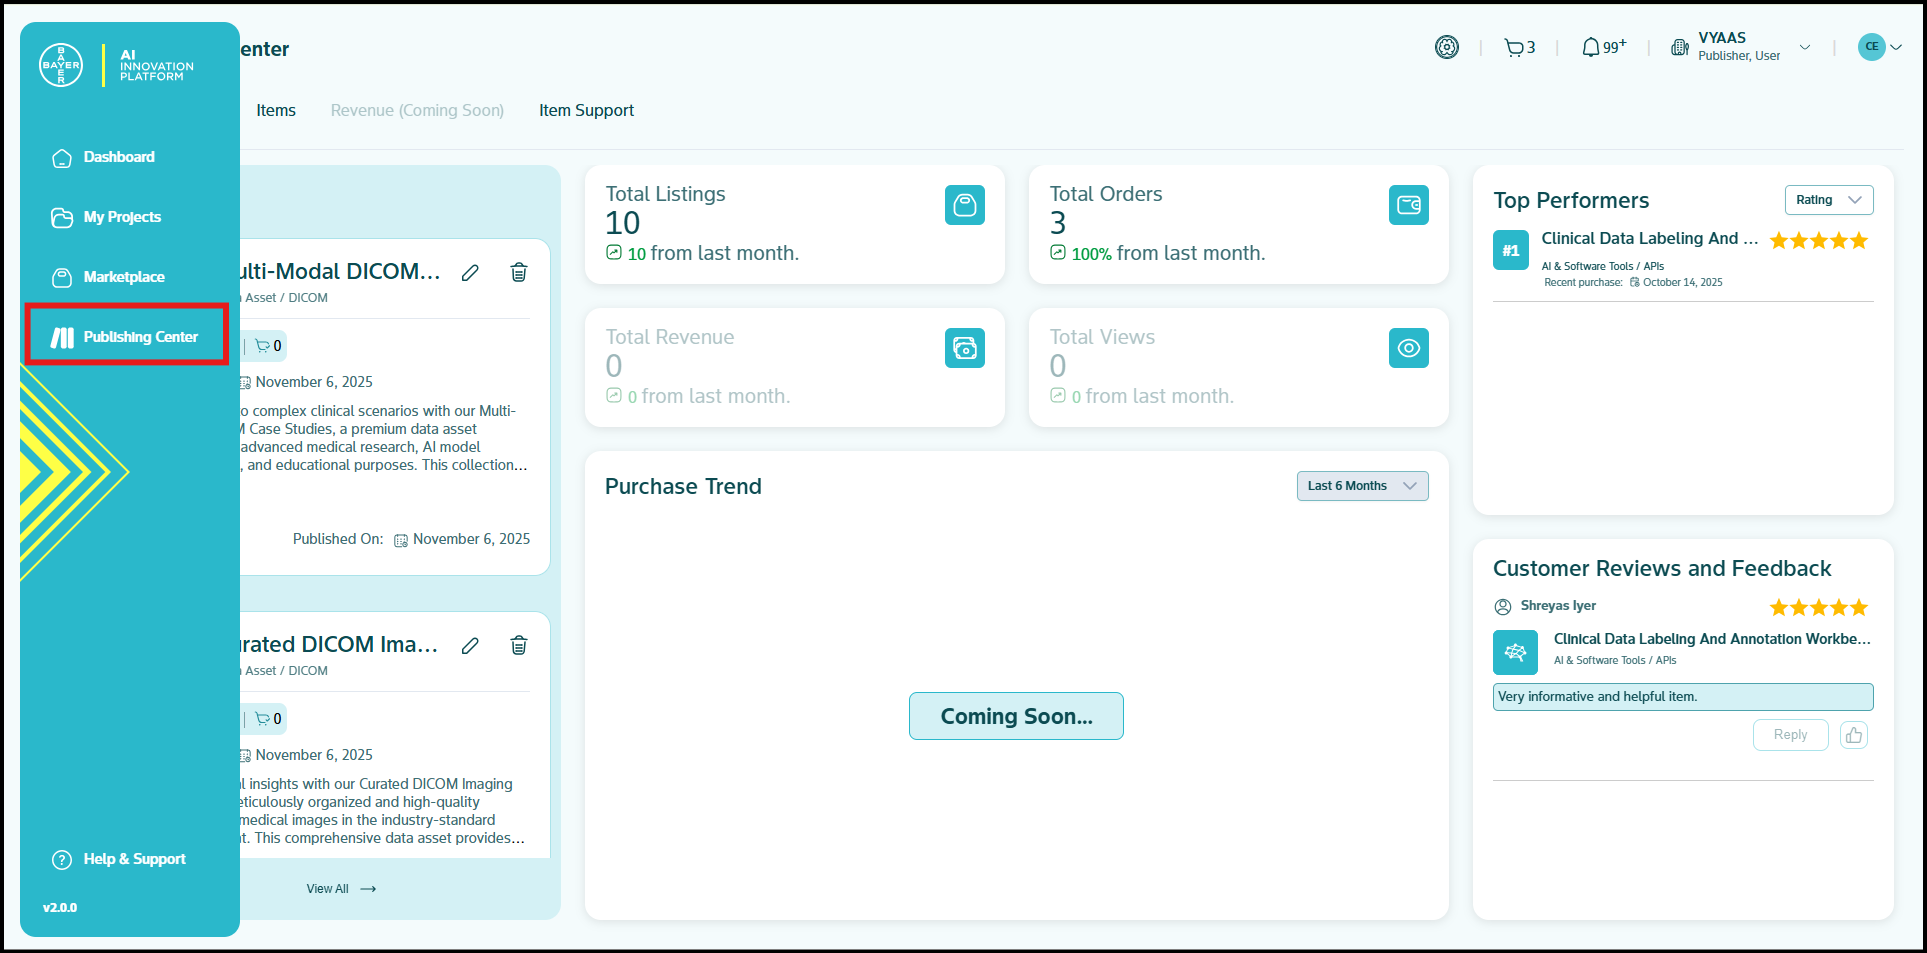
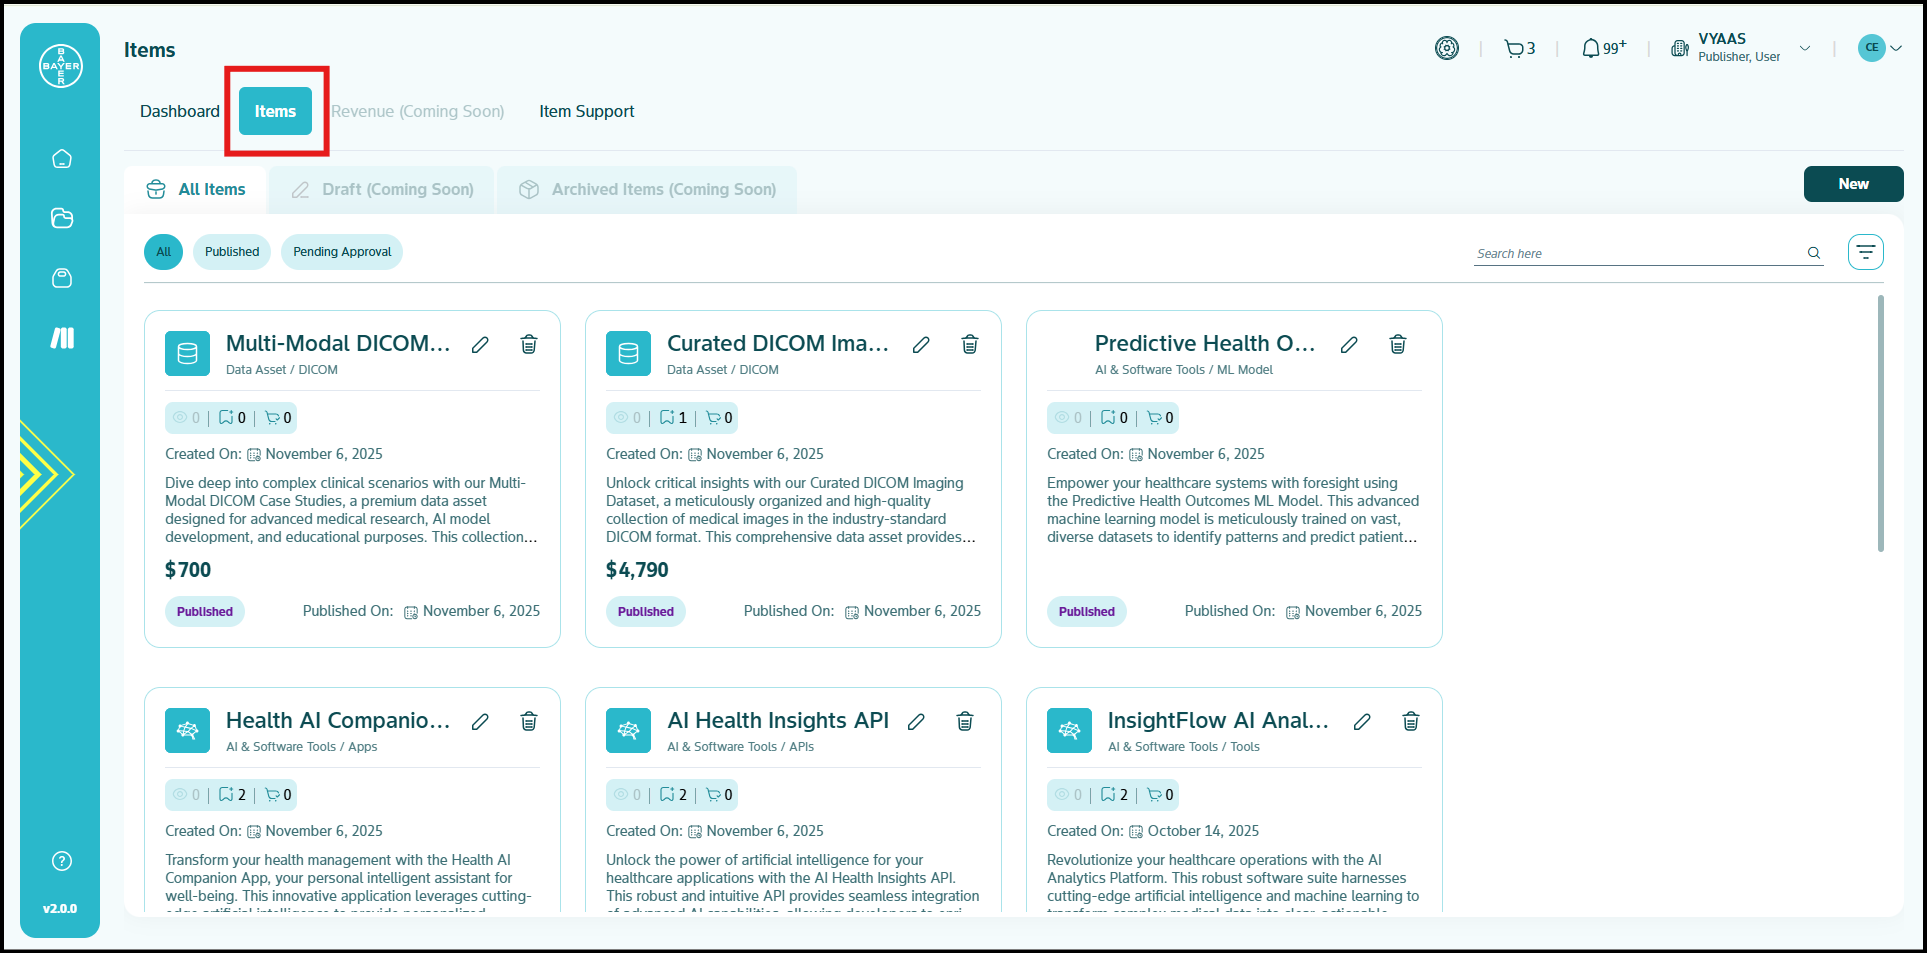
Items Tab
The "Items" section within the Publishing Center is the designated area where you manage the lifecycle of your published content, encompassing creation, archiving, and gaining detailed insights into individual item performance. You can navigate to the Publishing Center via the left-hand navigation panel. You should then click on the Items tab.
Getting Started with Publishing
The following steps detail the process for publishing an item on the Marketplace:
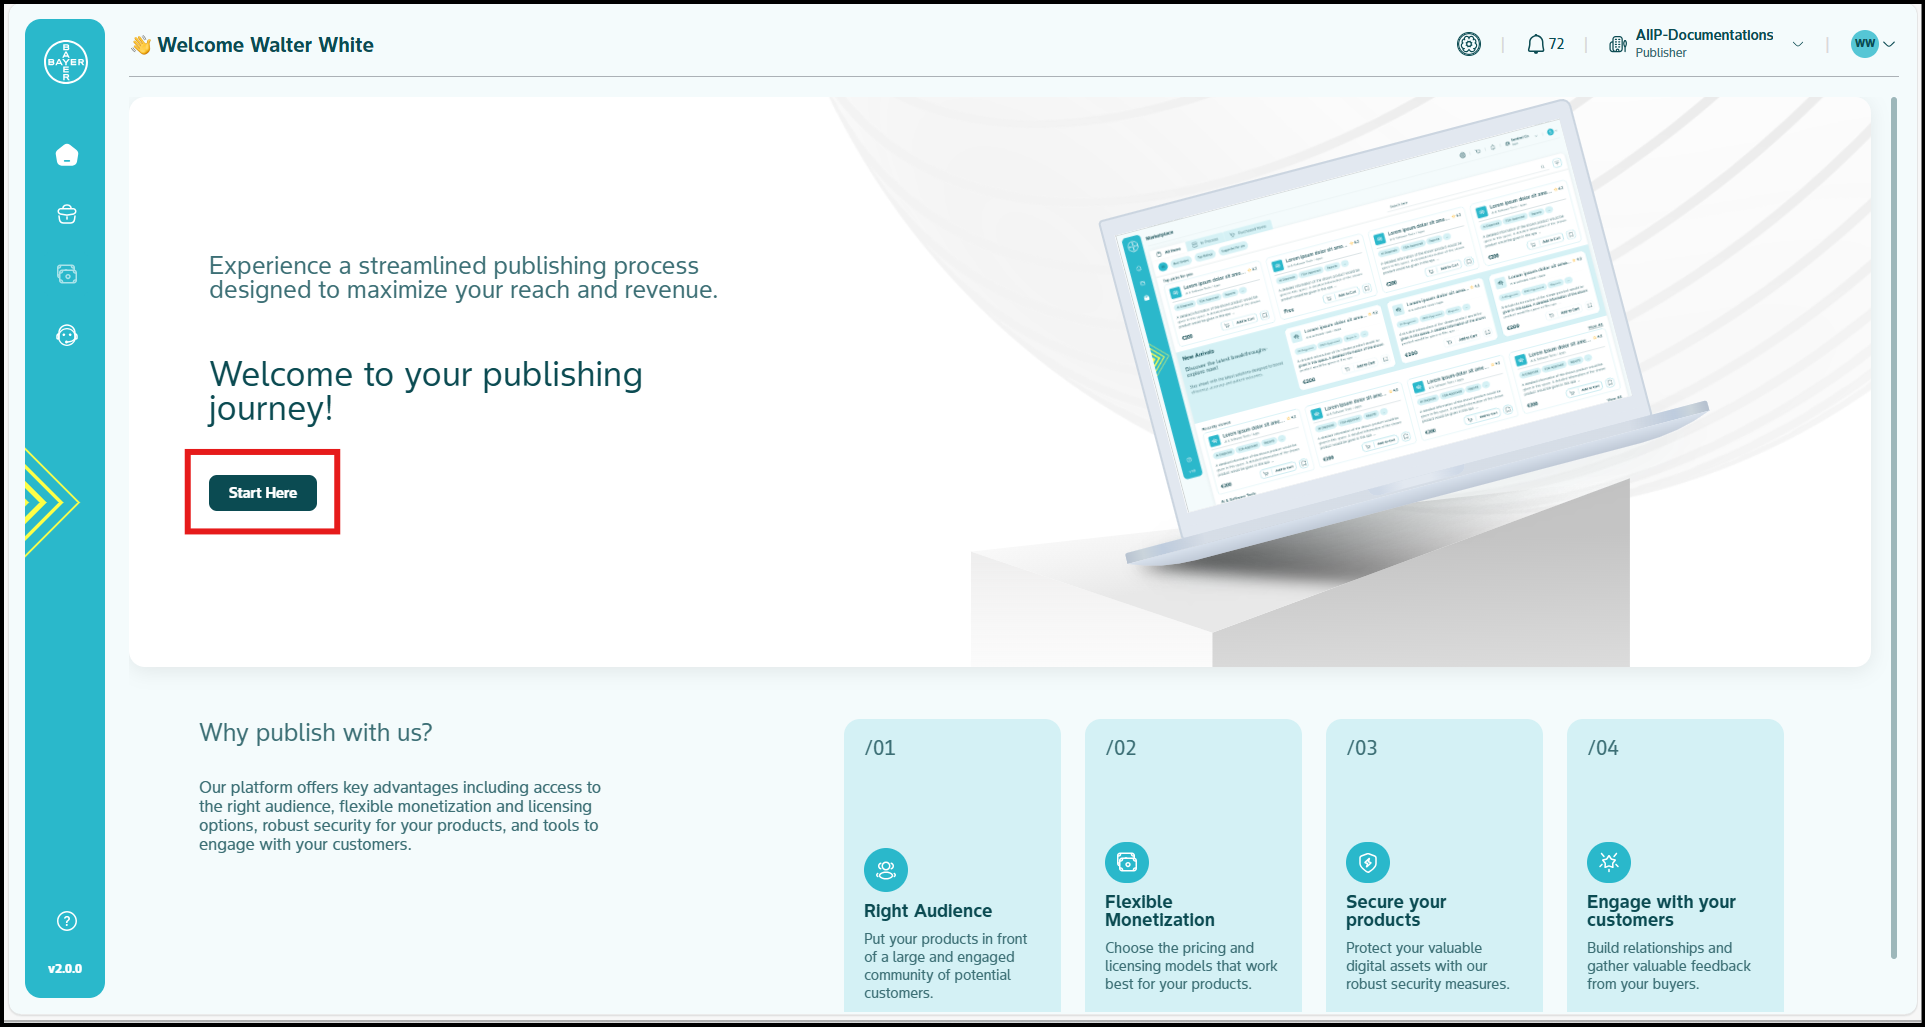
- Initiate a New Item Publication (For New Users): Click on the "Start Here" button that appears on the initial screen.
- Initiate a New Item Publication (For Existing Users):
- Click on the "Items" tab.
- In the top right corner of the Items page, click the "New" button.

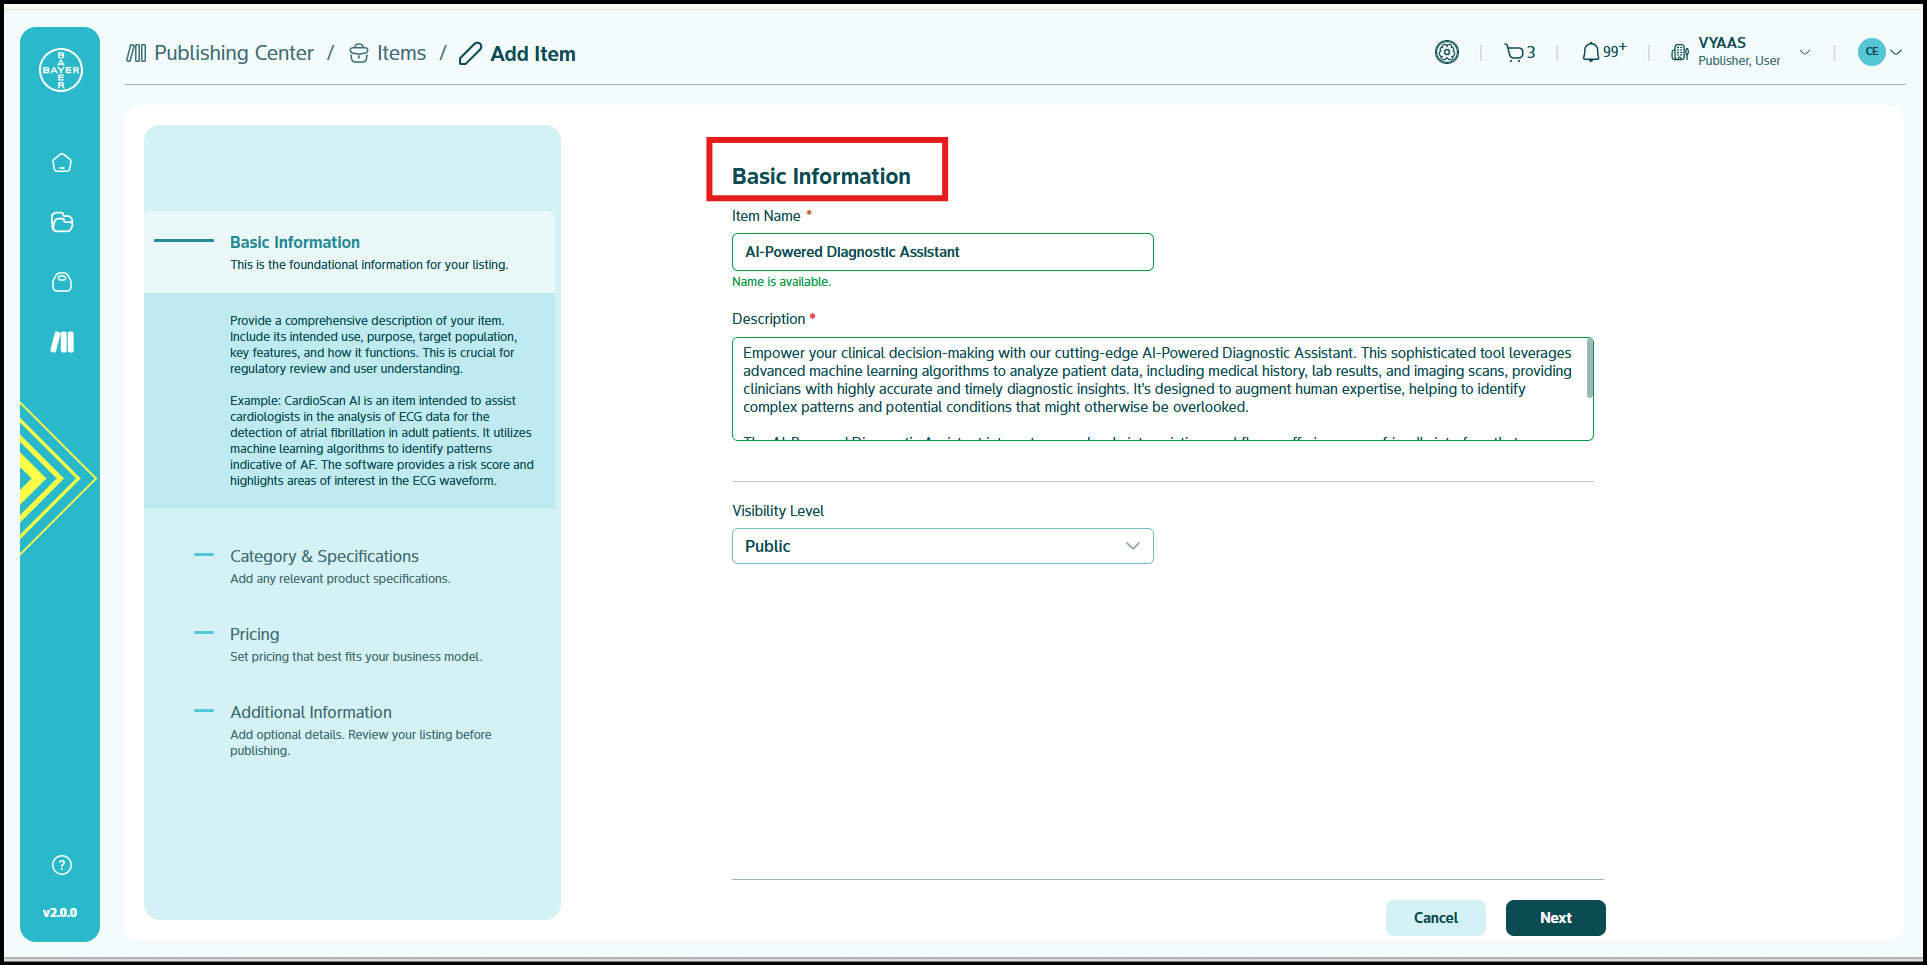
Step-1: Basic Information
This initial stage focuses on providing the core identity and visibility settings for your item.
- Title: Enter a clear, concise, and descriptive title for your item. This serves as the primary identifier visible to users.
- Description: Provide a detailed and informative description of your item. Explain its features, benefits, use cases, and what users can anticipate.
- Visibility Level: Select the desired visibility level for your item:
- Public: Your item will be visible and discoverable by all users in the Marketplace.
- Share it only with: This restricts visibility of your item to a curated list of users. You will be prompted to input the complete email address for each authorized individual.
Step 2: Category, Specifications & Source Files
- Category: Choose the most appropriate Category for your item from the provided list.
- Sub-Category: Upon selection of a category, the relevant Sub-Categories will be populated. You should choose the most suitable sub-category for your item.
- Details: Based on the selected sub-category, you will be prompted to add specific details or Specifications relevant to your item. You should fill all required fields accurately. A detailed table outlining the specifications for each category and subcategory is provided here.
- Provide Item Source Files: You are required to provide the source files for your item. Two options are available:
- Upload Files: Click the upload button and select the files directly from your computer/local.
- Provide Cloud Storage URL:** If your files are hosted on a cloud storage service (Amazon Web Services, Google Cloud Platform, or Azure), enter the URL where the files can be accessed from.
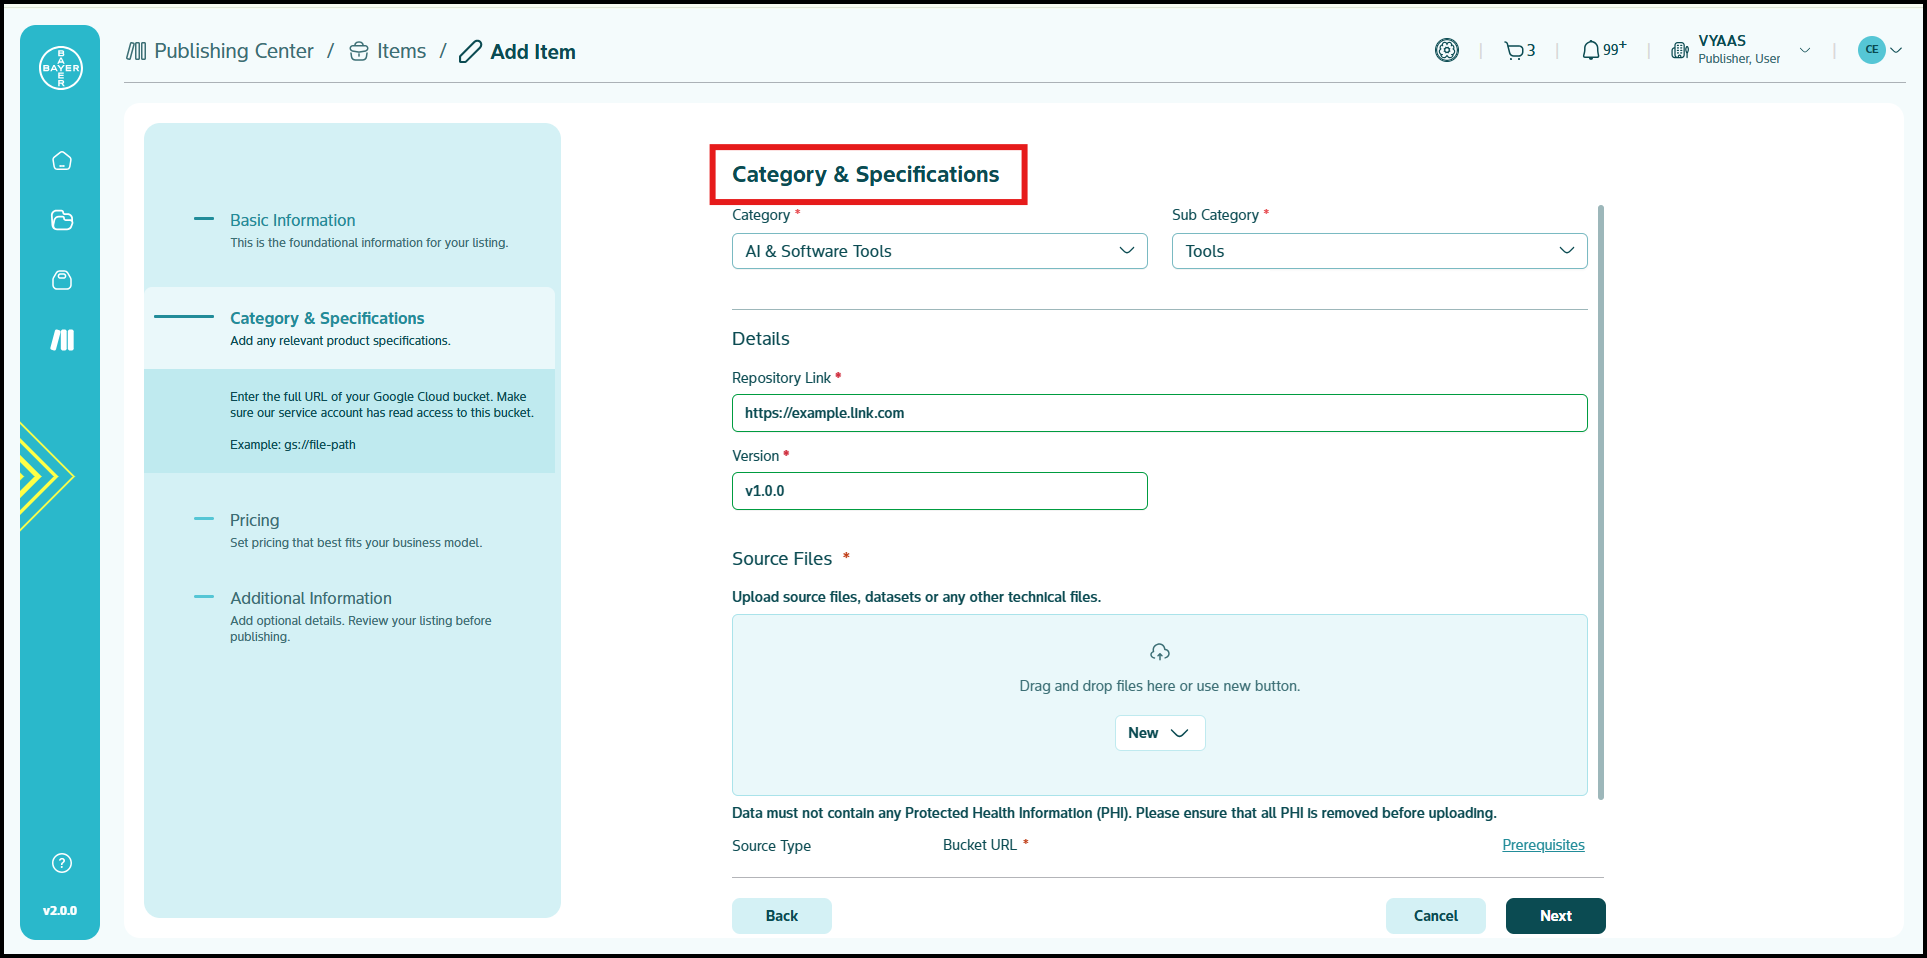
Note: You must ensure that the files you provide are the correct and complete source files for your item and that the prerequisites for sharing from your chosen cloud platform have been followed. Refer to the Prerequisites for Cloud Storage section at the end of this guide for detailed instructions.
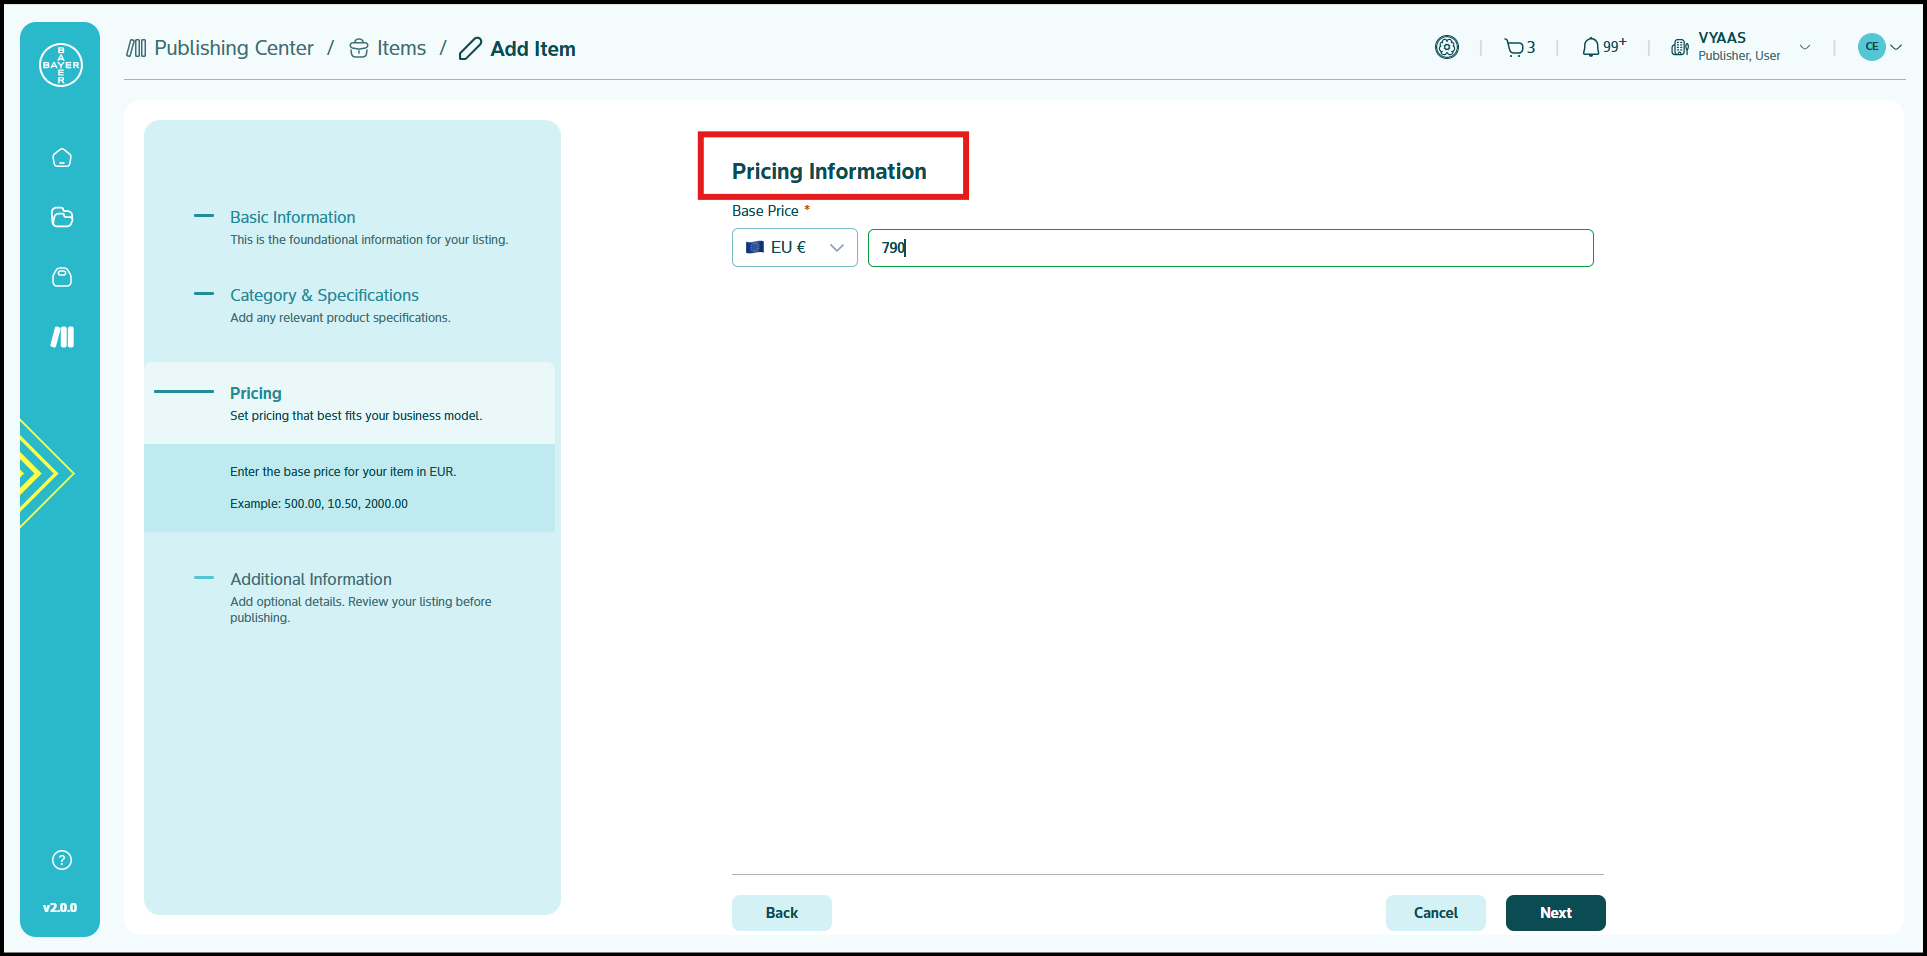
Step 3: Pricing
This section is for setting the price of your item.
- Price: Enter the price to be charged for your item. If you want to offer your item free of charge, enter 0.
- Currency: Select the currency for the price.
Note: Currently, only Dollar ($) is supported.
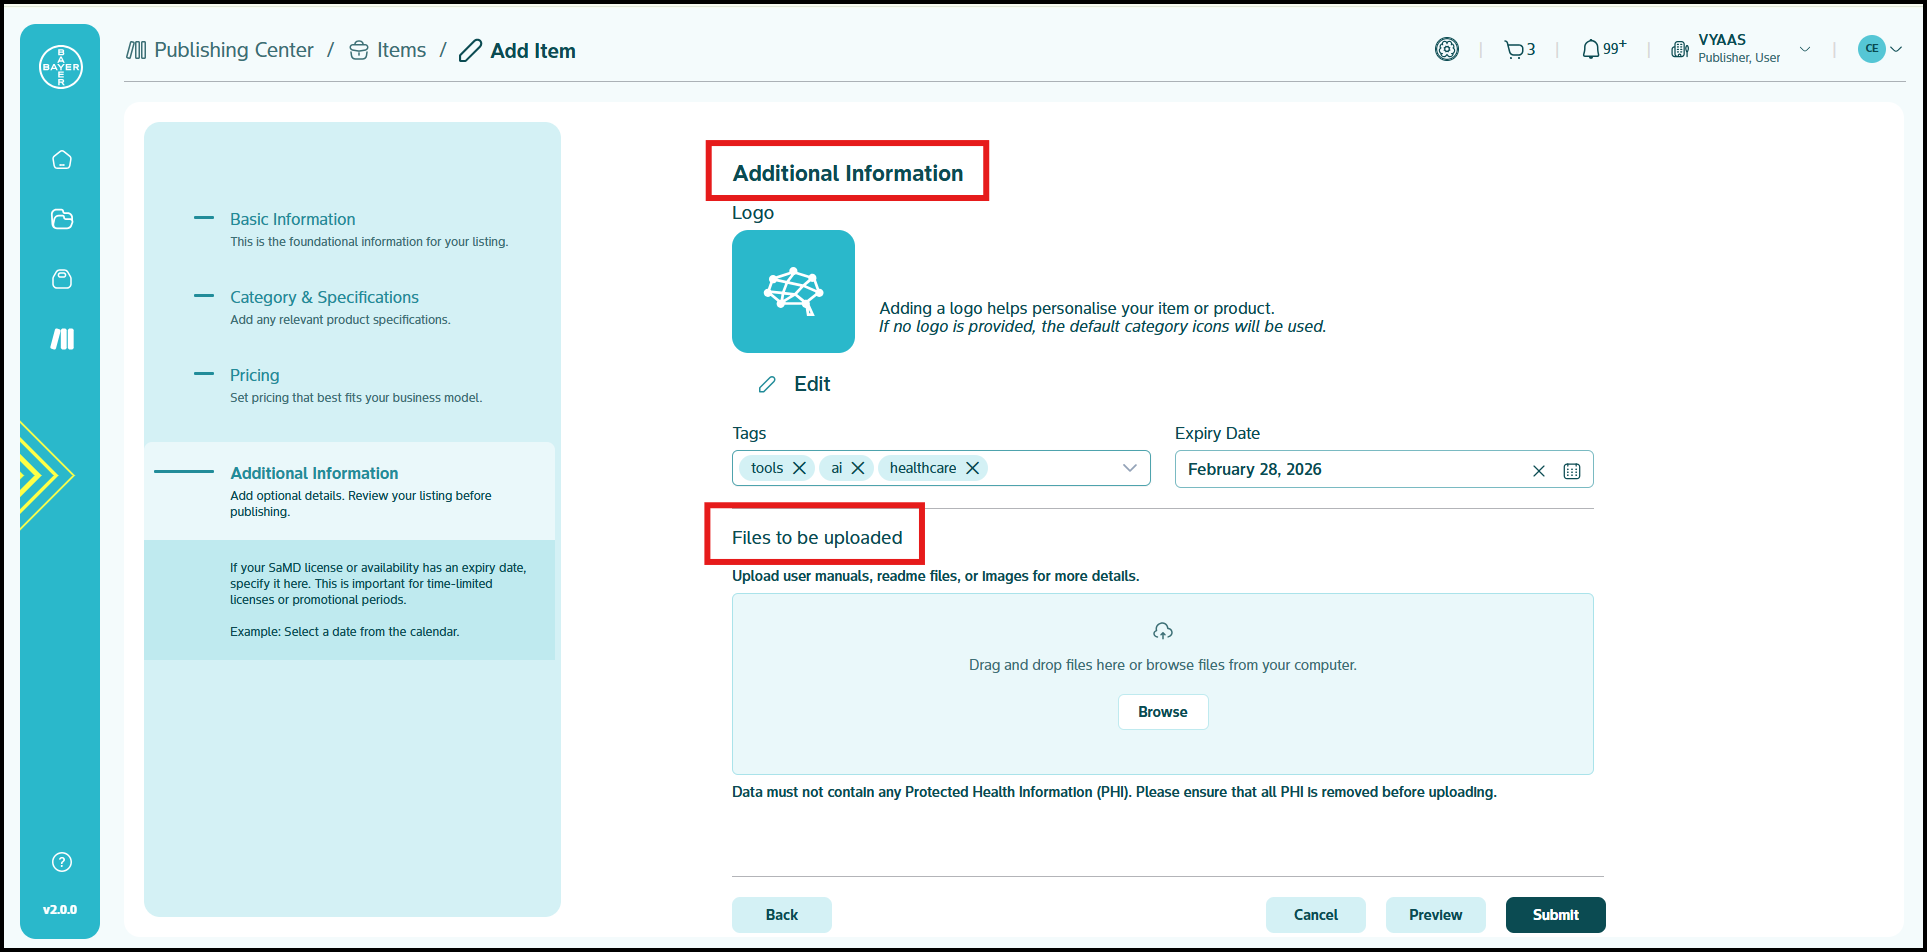
Step 4: Additional Information
This section allows you to add supplementary details to enhance your item's listing and improve its discoverability.
- Logo: Upload a logo or image that visually represents your item. This will be displayed on your item's listing page.
- Tags: Add relevant tags or keywords that will facilitate users in finding your item through search on the Marketplace. You should use comma-separated values (e.g., AI, machine learning, model).
- Expiry Date (Optional): If your item has a specific expiry date (e.g., a limited-time offer or a dataset with a defined end date) post which users shouldn't be able to use it, you can set it here.
- Additional Files: Upload any additional files that may be beneficial for users, such as a
READMEfile, user manual, supporting documentation, or sample files.
Step 5: Review and Submit Your Item
Upon completion of all sections of the form, you can review your entry:
- Click the "Preview" button to view how your item listing will appear to users on the Marketplace. Make any necessary edits to ensure accuracy and clarity.
- When you are satisfied with all the details, click the "Submit" button to initiate the publishing process.
Item Processing and Approval
After submission, your item will undergo the following process prior to publication:
- Security Scans: Your item will be automatically scanned for security vulnerabilities to ensure the safety of Marketplace users and adhere to our AI Innovation Platform's security standards.
-
Admin Review: If your item successfully passes the security scans, it will be forwarded to the Marketplace admins (AI Innovation Platform admins) for review and approval. Admins will verify the information you provided and ensure compliance with Marketplace guidelines.
Note
The time required for security scans and admin review is variable and dependent on your item's complexity and the current volume of submissions. You can monitor the status of your submission on the Items page in the Publishing Center.
Item Publication
Once your item is approved by the admins, it will be published in the Marketplace and become accessible based on your chosen visibility setting.
-
Visibility:
-
If you set the visibility to Public, your item will be visible and discoverable by all users browsing the Marketplace.
-
If you set the visibility to Share it only with, your item will only be visible to the specific users with whom it has been shared (based on the email addresses you provided in Step 1).
-
Category and Specification Details
The following table outlines the mandatory fields and validation types for each item category and subcategory:
| Category | Subcategory | Mandatory Fields | Validation Type | Validation Details |
|---|---|---|---|---|
| AI & software tools | Pretrained models | Framework | Dropdown | Predefined options (TensorFlow, PyTorch, ONNX) |
| Model version | Text field | Validate as a valid version number (e.g., v1.0.0) | ||
| Model download link / repository | URL field | Validate as a valid URL | ||
| Apps | Platform | Dropdown | Predefined options (Web, Desktop, Cloud) | |
| Version | Text field | Validate as a valid version number (e.g., v1.0.0) | ||
| Download / access URL | URL field | Validate as a valid URL | ||
| APIs | API type | Dropdown | Predefined option(REST) | |
| Version | Text field | Validate as a valid version number (e.g., v1.0.0) | ||
| API endpoint URL | URL field | Validate as a valid URL | ||
| API specification | Text field | Validate file type (Swagger, OpenAPI) | ||
| Authentication type | Dropdown | Predefined options (Basic Auth, OAuth, API Key) | ||
| Tools | Version | Text field | Validate as a valid version number (e.g., v1.0.0) | |
| Repository link | URL field | Validate as a valid URL | ||
| ML Model | Model Type | Dropdown+ Others text field | Dropdown with predefined options (CNN, Diffusers, SLM, LLM, NLP, GAN, Others) | |
| Intended Use | Dropdown+ Others text field | Dropdown with predefined Options (Text Classification, Image Generation, Segmentation, Language Translation, Object Detection, Regression, Anomaly Detection, Others) | ||
| Framework Used | Dropdown+ Others text field | Dropdown with predefined Options (PyTorch, TensorFlow, ONNX, JAX, Scikit-learn, XGBoost, Others) | ||
| Version | Text field | Validate as a valid version number (e.g., v1.0.0, v2.3.4). | ||
| Supported Modalities | Multi-select Dropdown+ Text box | Dropdown with predefined Options (Text, Image, Audio, Video, Tabular, 2D, 3D, Time-Series, Others) | ||
| License Type | Dropdown+ Others text field | Dropdown with Ppredefined Options (MIT, Apache 2.0, Proprietary, Commercial Use Only, GPLv3, Others) | ||
| Performance Metrics | File upload | Validate as a valid file upload (rulesheet template) | ||
| Known Limitations | Text field+ Upload file format | Validate as a valid file upload. | ||
| Outcome | Text field | Maximum Character Length: 2000 | ||
| Foundation Models | Multi-select Dropdown+ Text box | Dropdown with predefined Options (ChatGPT 4, Claude 3, Llama 3, Med-PaLM, Meditron, None/Not applicable) | ||
| Input Data Source | Text field | Maximum Character Length: 2000 | ||
| Output/Input Data | Type | Multi-select Dropdown+ Text box | ||
| Development Data Characterization | Text field+ Upload file format | Validate as a valid file upload. | ||
| Code resources | Jupyter notebooks | Programming language | Dropdown | Dropdown with predefined options (Python, R, Julia) |
| Repository / download link | URL field | Validate as a valid URL | ||
| Scripts | Programming language | Dropdown | Dropdown with predefined options (Python, Bash, JS) | |
| Repository / download link | URL field | Validate as a valid URL | ||
| Code utilities | Version | Text field | Validate as a valid version number (v1.0.0) | |
| Repository / download link | URL field | Validate as a valid URL | ||
| Libraries | Supported platforms | Dropdown | Dropdown with predefined options (Windows, Linux, macOS) | |
| Version | Text field | Validate as a valid version number (v1.0.0) | ||
| Repository / download link | URL field | Validate as a valid URL | ||
| Data asset | DICOMs | Modality type | Dropdown | Predefined options (CT, MRI, X-Ray) |
| Data access link | URL field | Validate as a valid URL | ||
| WSIs (Whole Slide Imaging) | Image format | Dropdown | Predefined options (SVS,TIFF) | |
| Data access link | URL field | Validate as a valid URL | ||
| Basic Listings | Resource URL | URL field | Validate as a valid URL | |
| JSON Uploads | Version | Text field | Validate as a valid version number (v1.0.0) | |
| Live APIs | API endpoint URL | URL field | Validate as a valid URL | |
| API Request Method | Dropdown | Dropdown with predefined options (GET, POST) | ||
| API specification | Text field | Validate file type (Swagger, OpenAPI) | ||
| API type | Dropdown | Predefined options (REST, GraphQL, SOAP, WebSocket) | ||
| Authentication Key | Text field | Validate key | ||
| Authentication type | Dropdown | Predefined options (Basic Auth, OAuth, API Key) | ||
| Version | Text field | Validate as a valid version number (v1.0.0) | ||
| Documents | Document type | Dropdown | Predefined options (Whitepaper, Guide) | |
| Document download / view link | URL field | Validate as a valid URL | ||
| External resources | URLs | Resource URL | URL field | Validate as a valid URL |
| Research articles from journals | Journal name | Text field | Maximum Length: 55 characters | |
| DOI / article URL | URL field | Validate as a valid URL | ||
| Marketplace Partners | Data providers | Service Category | Dropdown | Dropdown with predefined options (AI, Consulting, Data, etc.) |
| Contact Email | Email field | Validate as a valid email address. | ||
| Resource URL | URL field | Validate as a valid URL. | ||
| Services | N/A | Tags | Multi-select Dropdown+ Text box | Dropdown with predefined Options ( Technical Services, Clinical Services, Administrative Services, Hybrid Services,Consulting, Development, Implementation, Integration, Training, Support, Managed Service, Other) |
| Healthcare Specialties | Multi-select Dropdown+ Text box | Dropdown with predefined Options (Cardiology, Oncology, Neurology, Pediatrics, Radiology, Primary Care, Mental Health, General Healthcare, Not Applicable, other) | ||
| Technology Expertise | Multi-select Dropdown+ Text box | Dropdown with predefined Options (AI/ML, Blockchain, Cloud Computing, IoT, EHR Integration, FHIR, HL7, Data Analytics, Software Development) | ||
| Team Size Available | Numeric Input | Maximum Characcter Length: 10000 | ||
| Team Expertise Portfolio | File upload | Validate as a valid file upload | ||
| Service Duration | Dropdown | Dropdown with predefined Options (On-demand, Short-term (1-3 months), Medium-term (3-6 months), Long-term (6+ months)) | ||
| Delivery Method | Multi-select Dropdown | Dropdown with predefined Options (Remote, On-site, Hybrid) | ||
| Language supported | Multi-select Dropdown+ Text box | Dropdown with predefined Options (English, German, French, Others) |