Mastering Your Marketplace Listings
This guide provides a comprehensive overview of managing your published items within the Publishing Center, allowing you to monitor performance, review feedback, and make necessary updates.
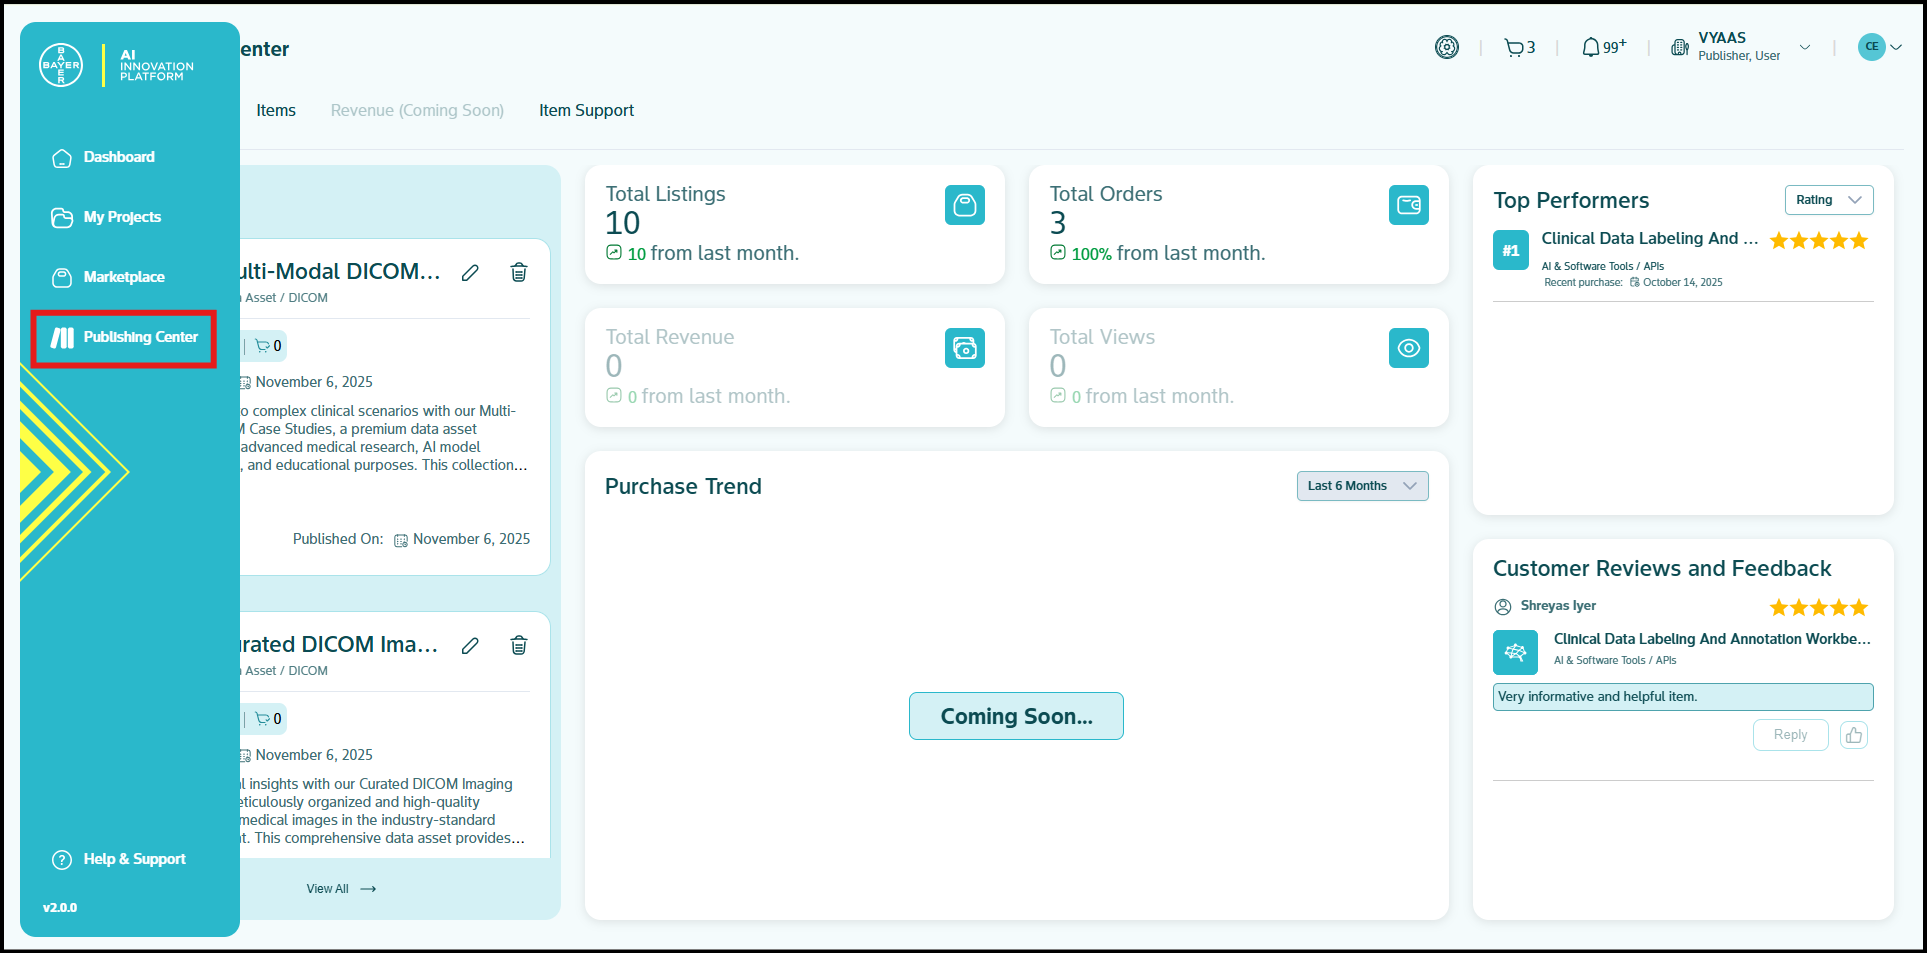
To begin with, navigate to the Publishing Center via the left-hand panel and click on the Items tab to access your published content.
Managing Items
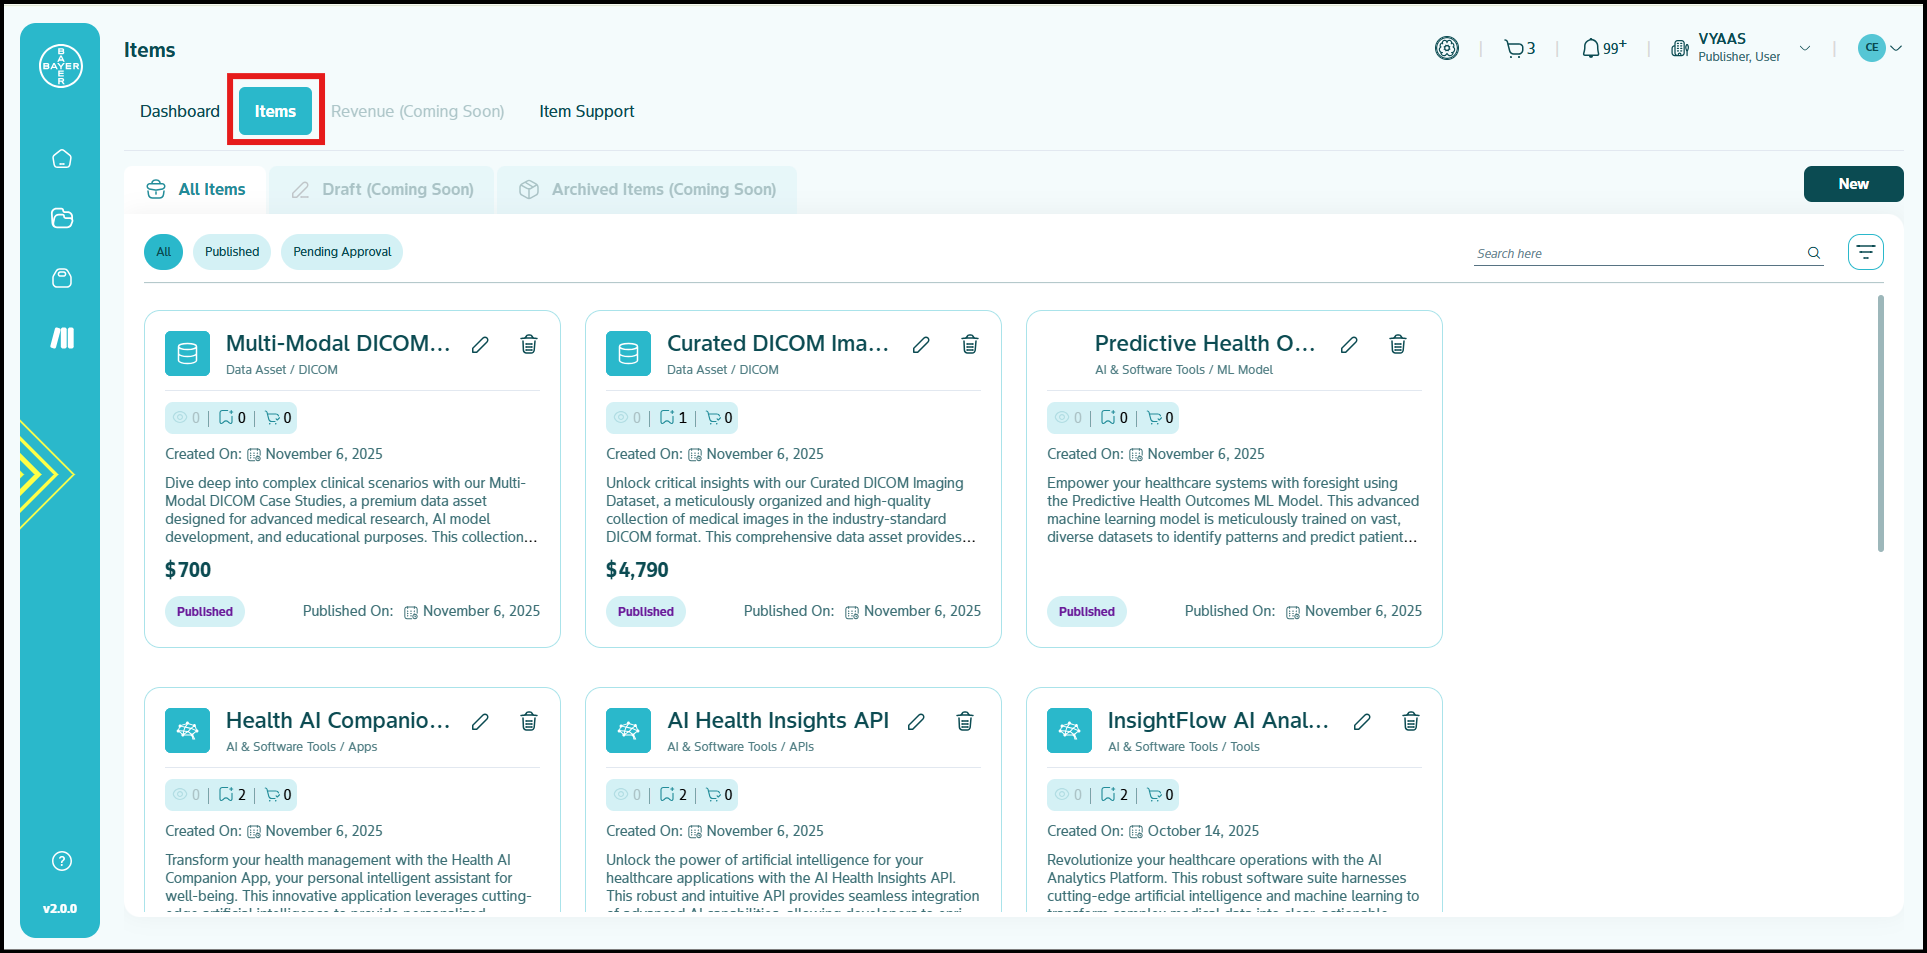
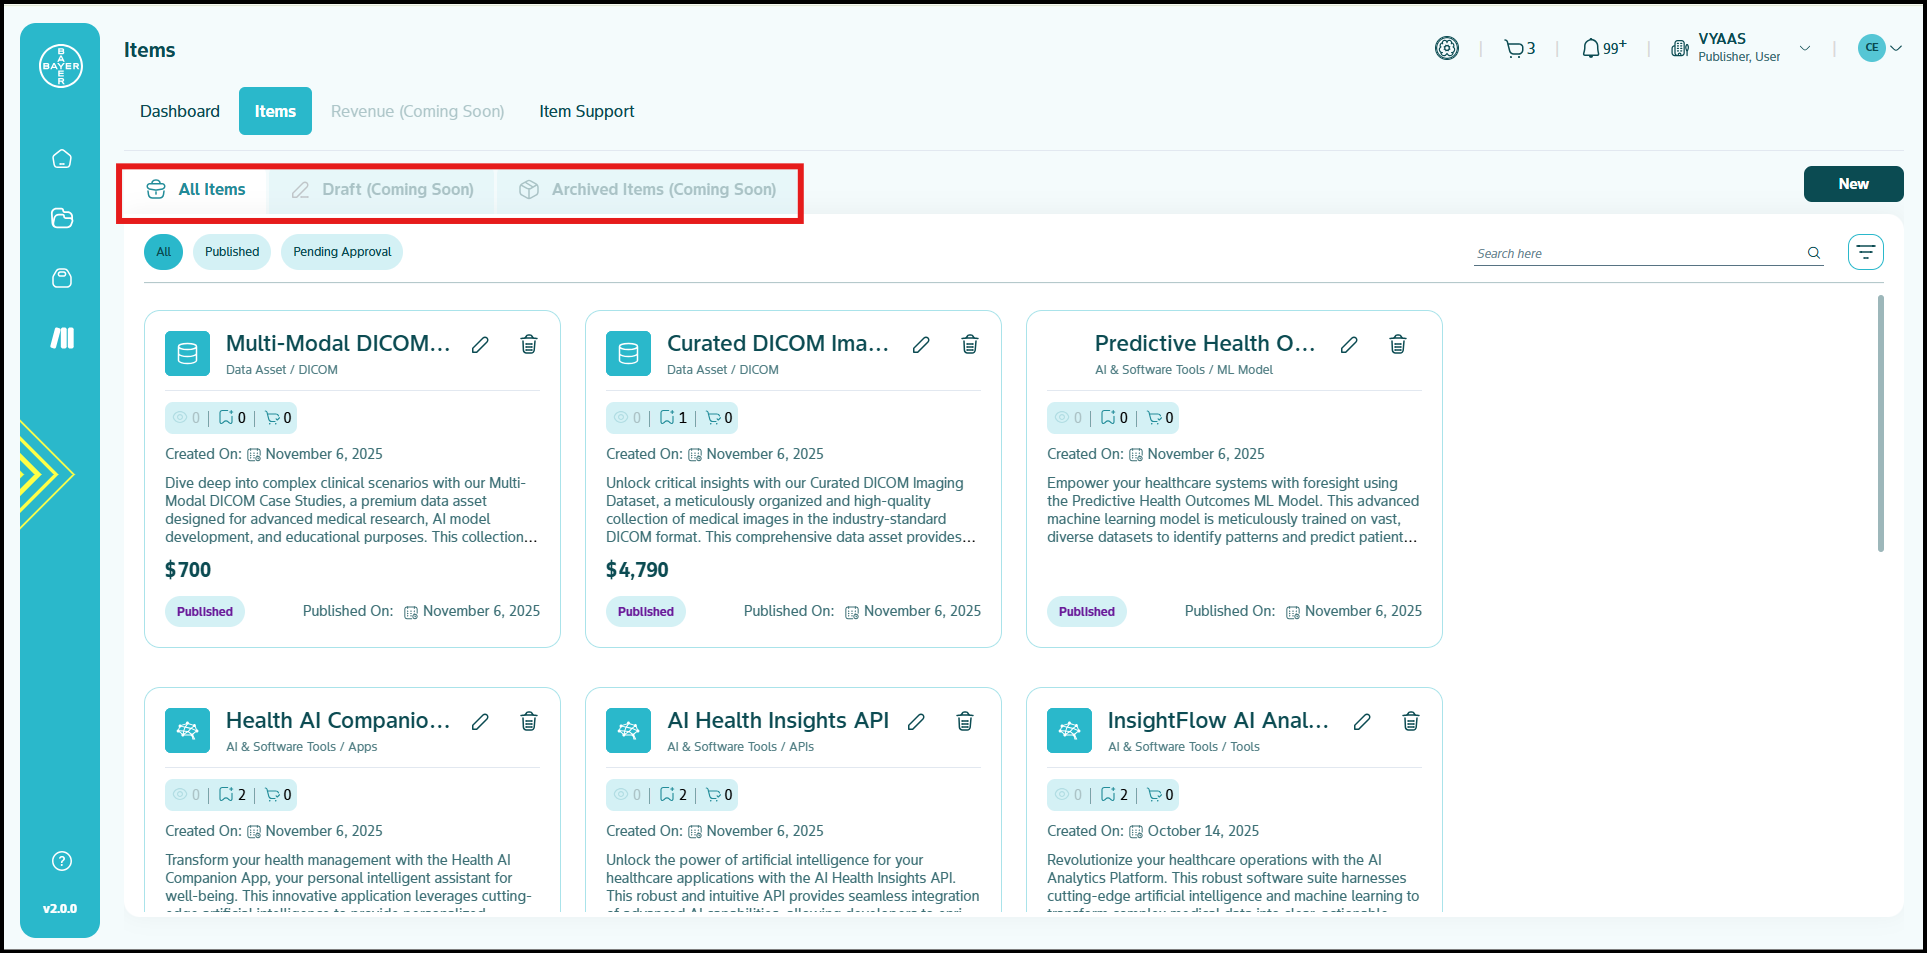
The Items page is structured into three tabs to facilitate effective content management:
- All Items: This tab displays a comprehensive list of all items that you have successfully published.
- Drafts (Coming Soon): This section will contain any items that you have partially created and saved as a draft without being submitted for publication. This allows you to work on items incrementally before finalizing them.
- Archived Items (Coming Soon): This tab will include items that have either reached their specified expiry date or have been deleted by you.
Detailed Item View
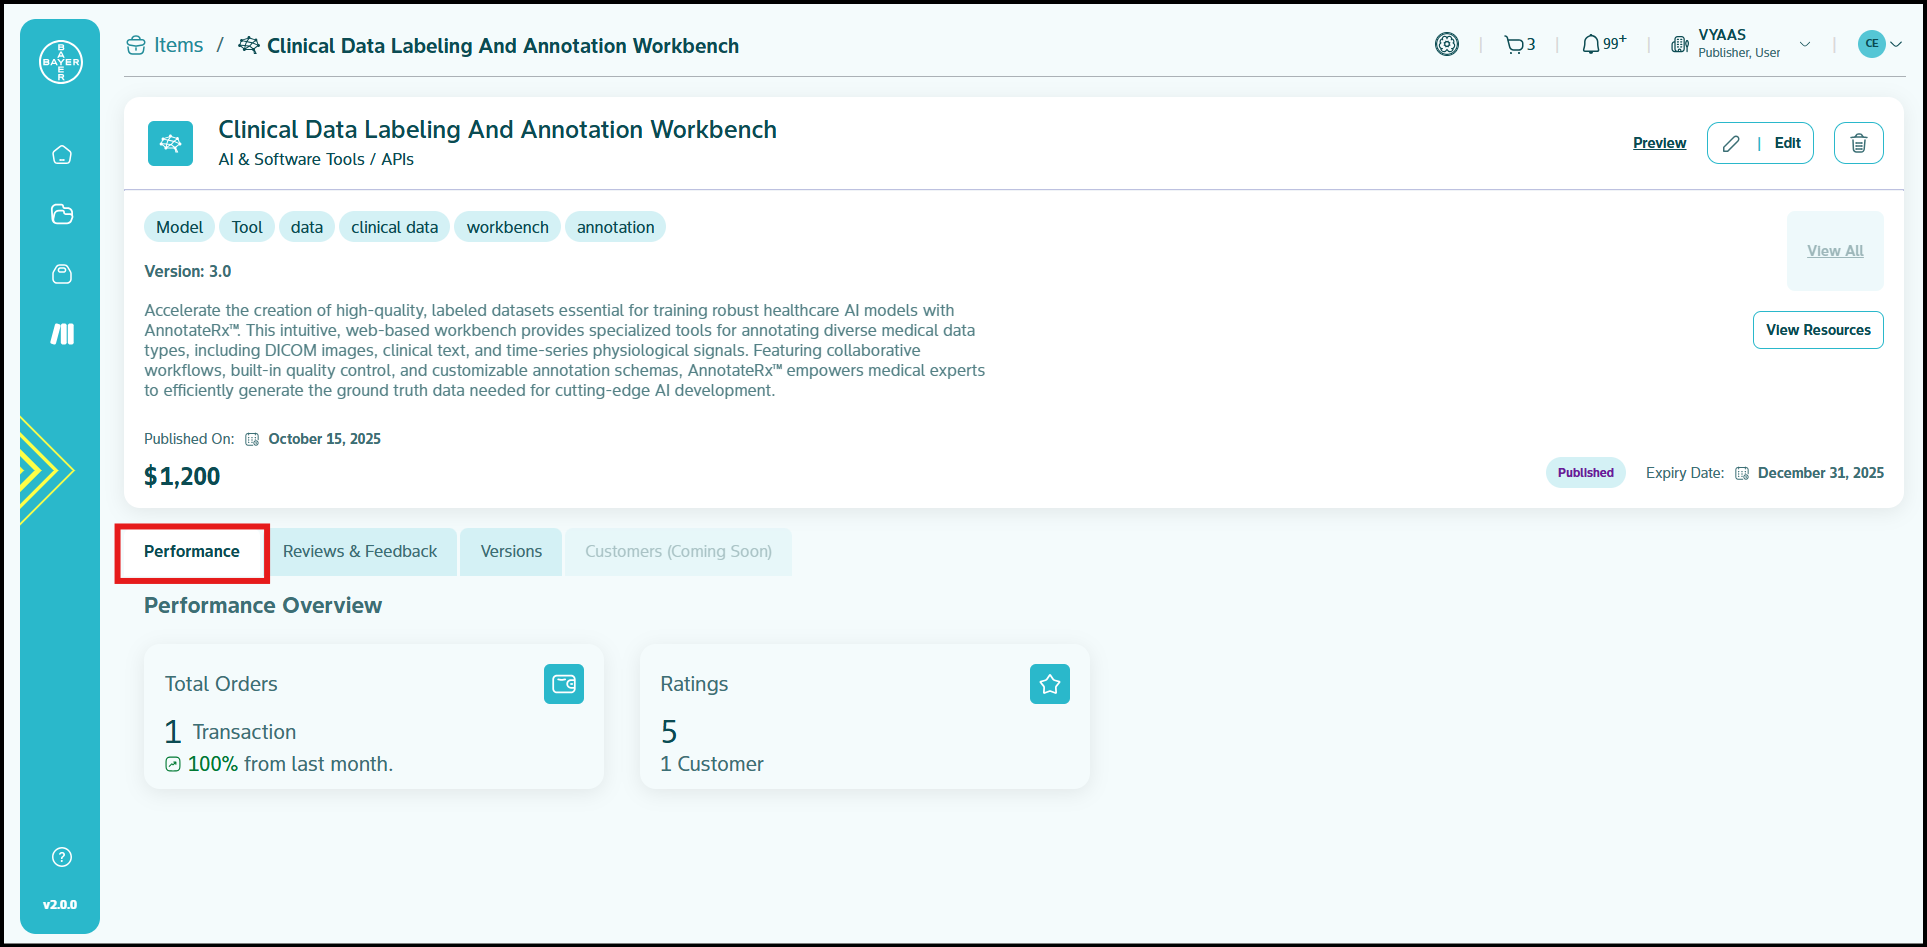
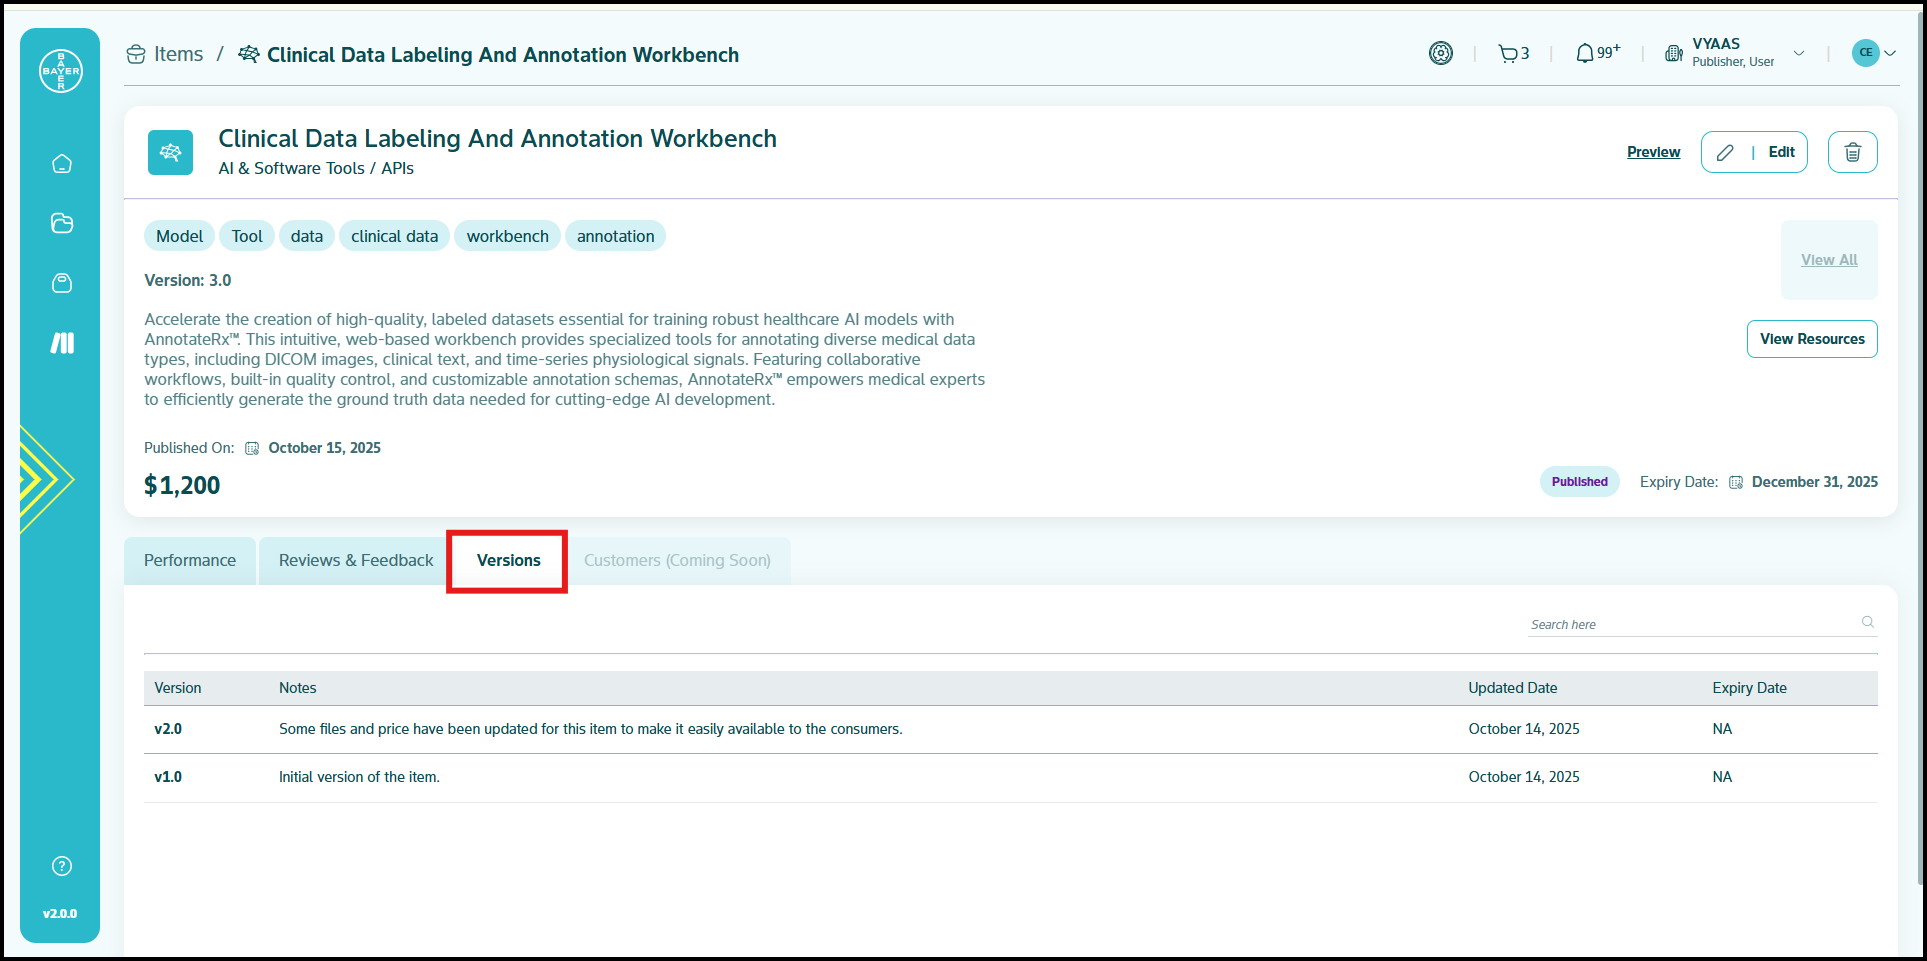
When you click on a specific item from the "All Items" list, you will access a detailed view that provides more in-depth analytics and information about that individual item. This detailed view is organized into several sections:

-
Performance: This section provides a comprehensive performance overview specifically for your selected item. It includes key metrics such as:
- Total Revenue generated by your item and the change in revenue compared to the last month.
- Total Orders for your item and the change in orders compared to the last month.
- Total Customers who have purchased your item and the change in customers compared to the last month.
- Total Ratings received by for item and the number of users who have provided the rating.
-
Revenue (Coming Soon): This forthcoming section will provide more detailed financial information specifically related to the revenue generated by your individual item.
- Reviews and Feedbacks: This section displays all the reviews and feedback that your specific item has received from customers, allowing you to understand user experiences and identify areas for improvement.

-
Versions: If your item has undergone modifications and updates since its initial publication, this tab will display a history of all released versions. While only the latest version is consumable by users, this provides valuable visibility into the changes you have made to your item over time.
-
Customers (Coming Soon): This forthcoming section will provide more detailed customer information related to who purchased your individual items.
Item Management Actions
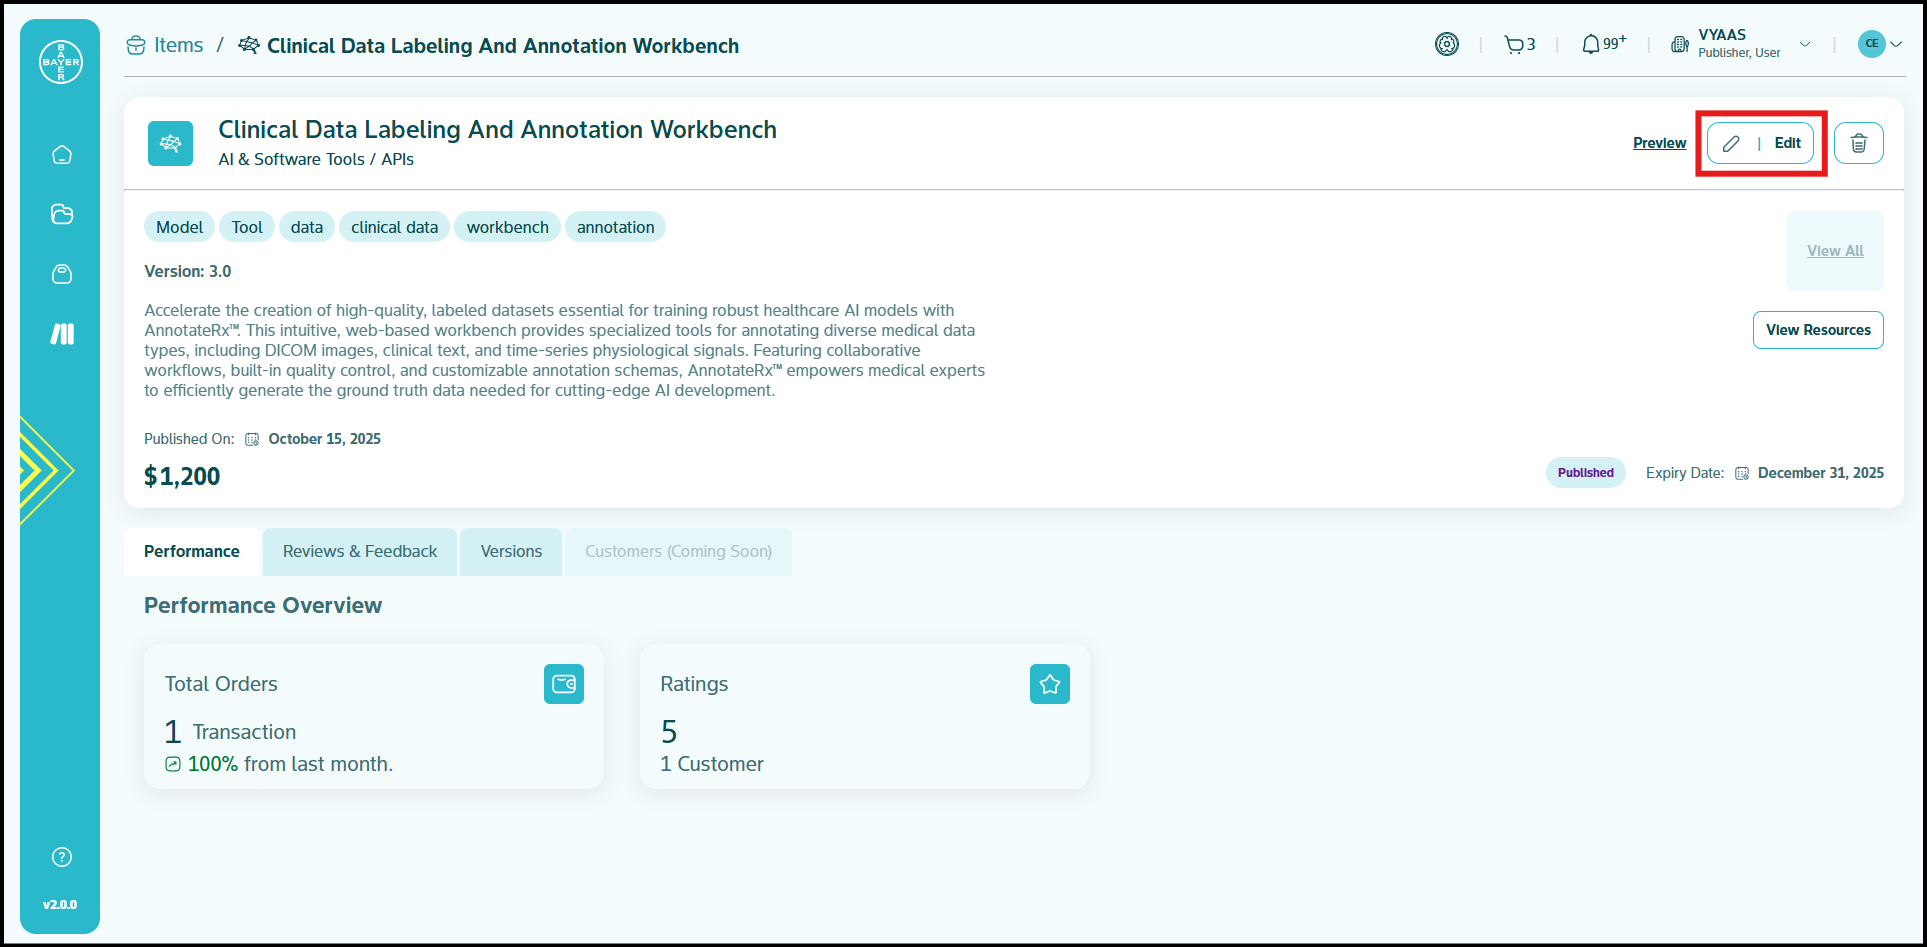
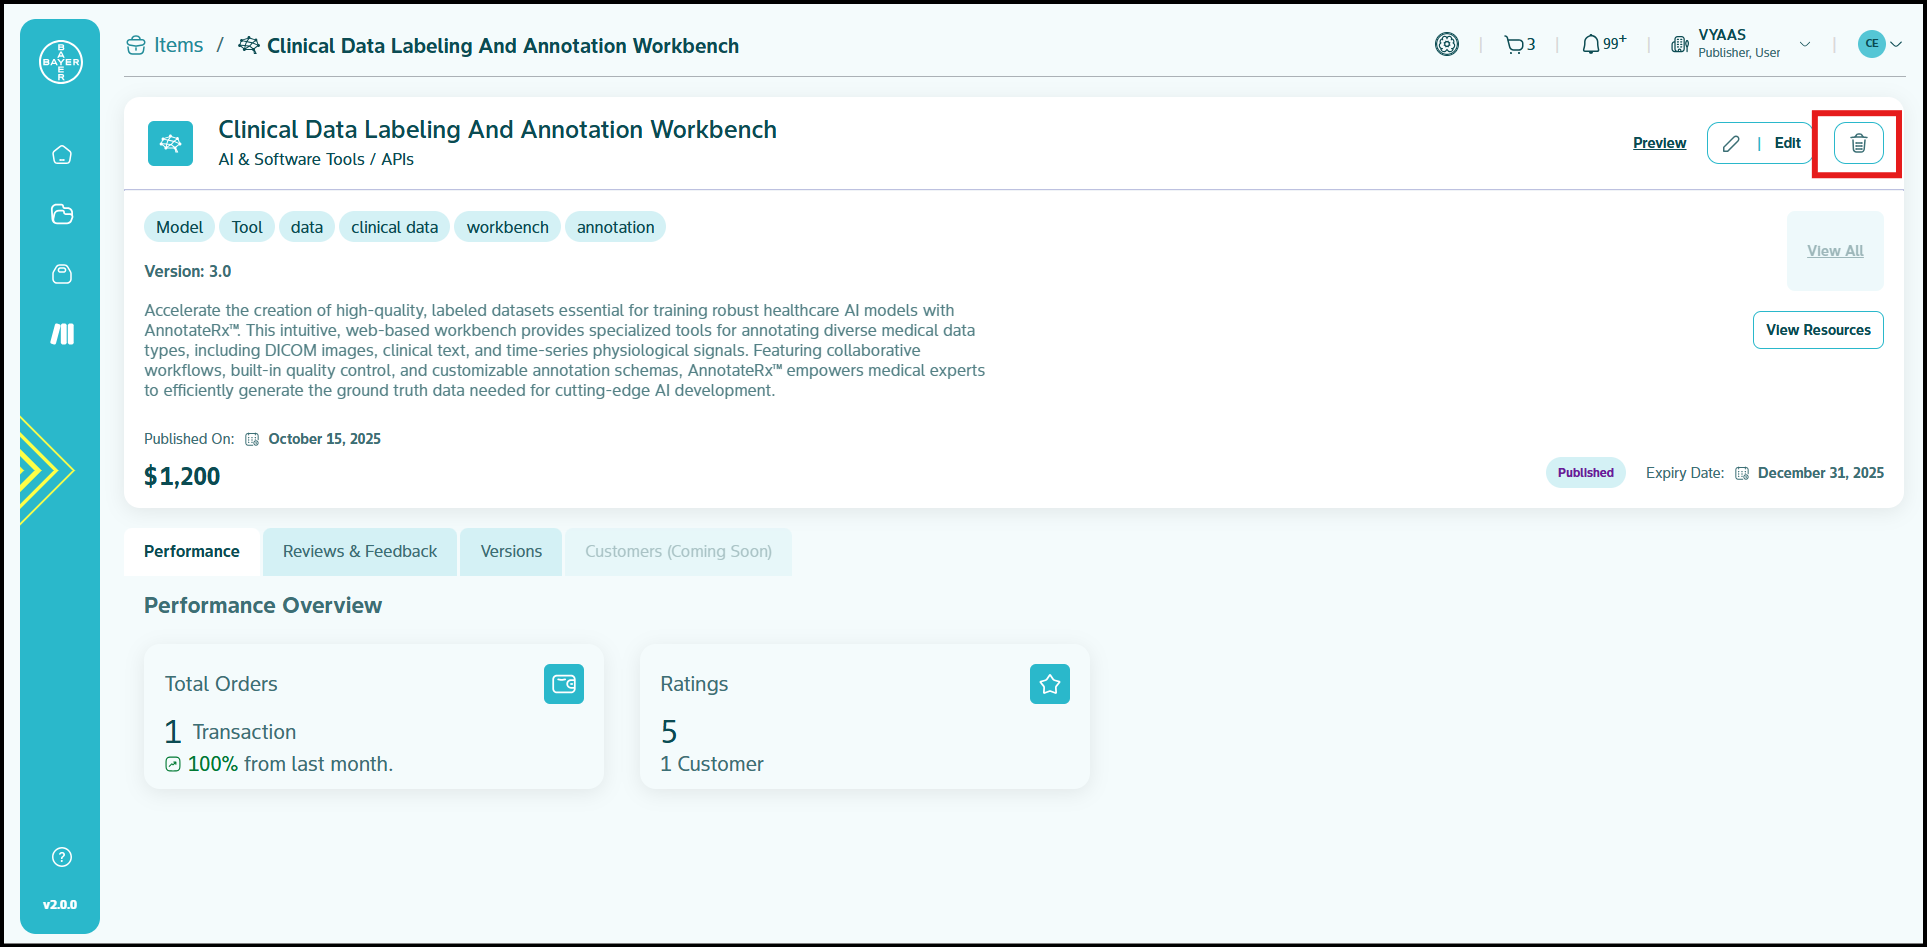
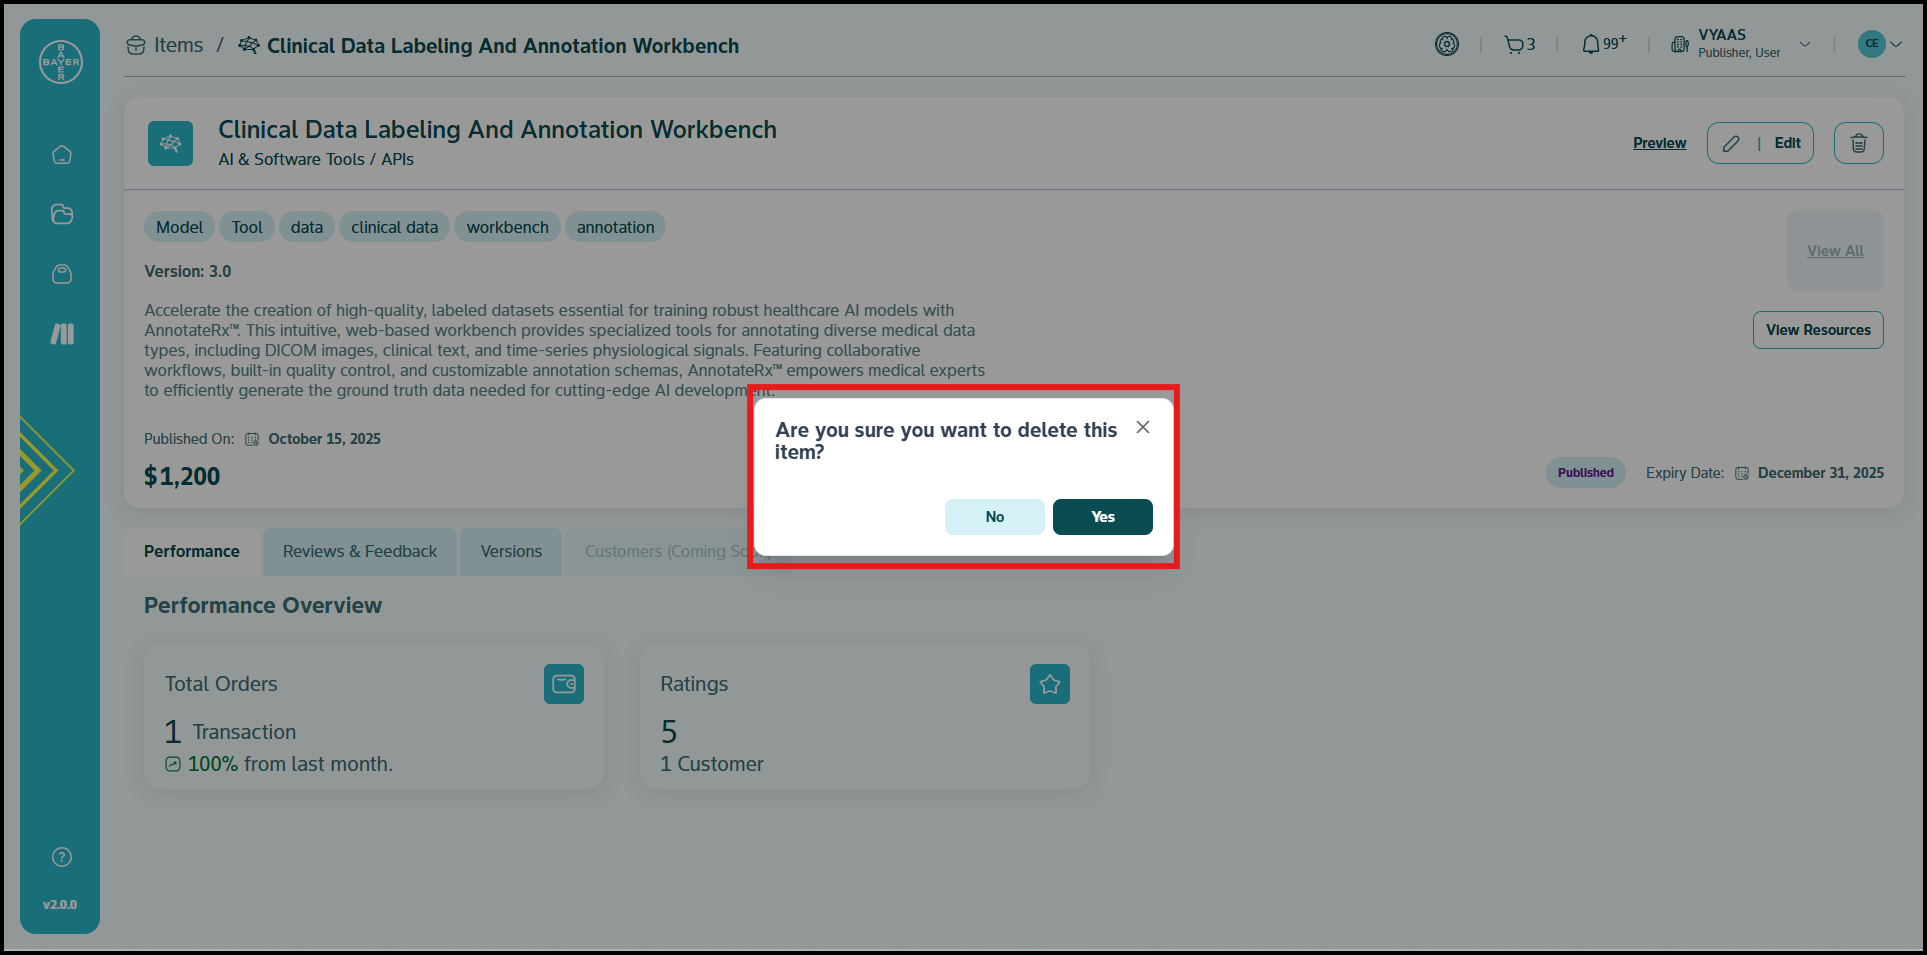
On the detailed item view page, you'll find intuitive icons for editing and deleting your items. These features are fully functional, allowing you to make real-time updates or remove listings as needed:
Edit Items: Click the pencil icon to modify any details of your published items, from descriptions to pricing.
Delete Items: Use the trash icon to completely remove items that are no longer relevant.
Report Abuse: To ensure a respectful and compliant Marketplace, both users and publishers can report inappropriate content, including comments, reviews, or item-related concerns.
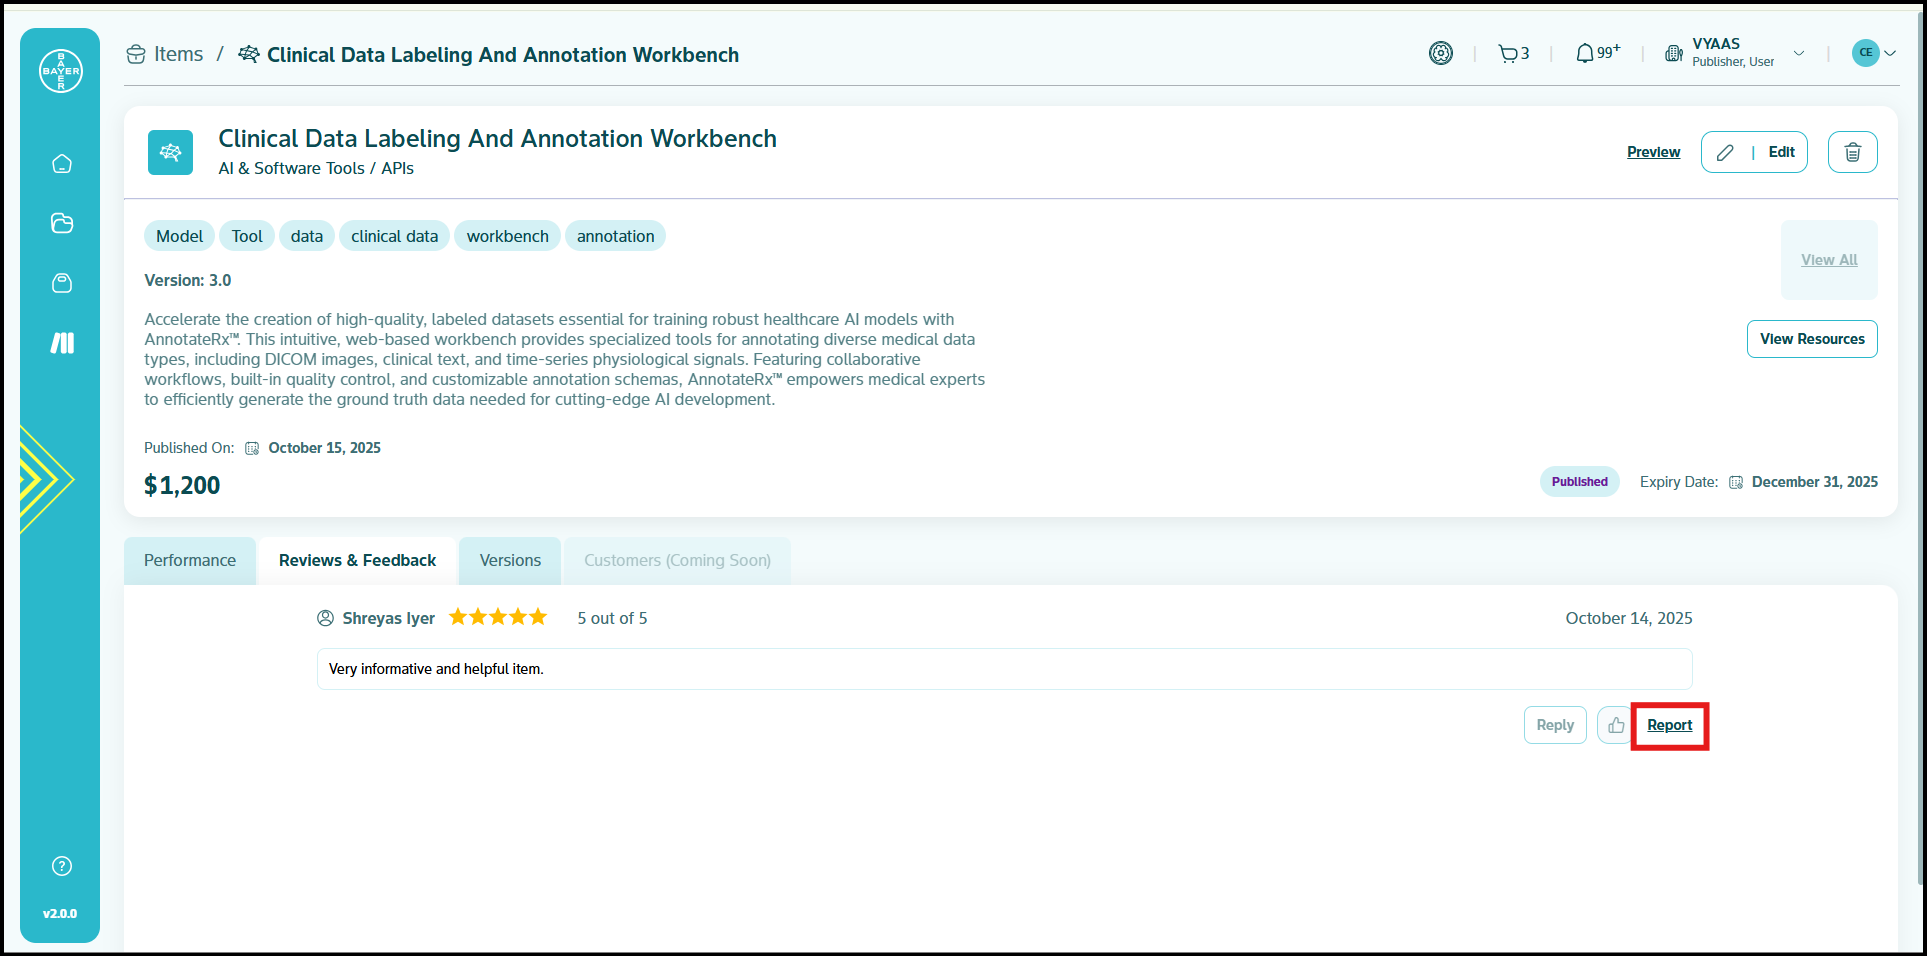
- How to Report: Locate the "Report Abuse" button on the item's detail page and clearly detail the incident and its nature, attaching any supportive files or documents.
- Our Review Process: All submitted reports are thoroughly investigated by respective Admins, who will take appropriate and impartial action to address any violations.
- Tracking & Notifications: You will receive notifications for each action taken on your report. You can also track the full status and activity history of your reports on the dedicated Help and Support Page.
Coming Soon: We're excited to announce that in future updates, you'll have even more control with these additional features:
- Draft saving functionality to work on listings before publishing
- Archive options to temporarily hide items without deleting them
These upcoming enhancements are part of our commitment to giving you more flexibility in managing your inventory. Stay tuned for these exciting additions!
Beyond the Items Tab
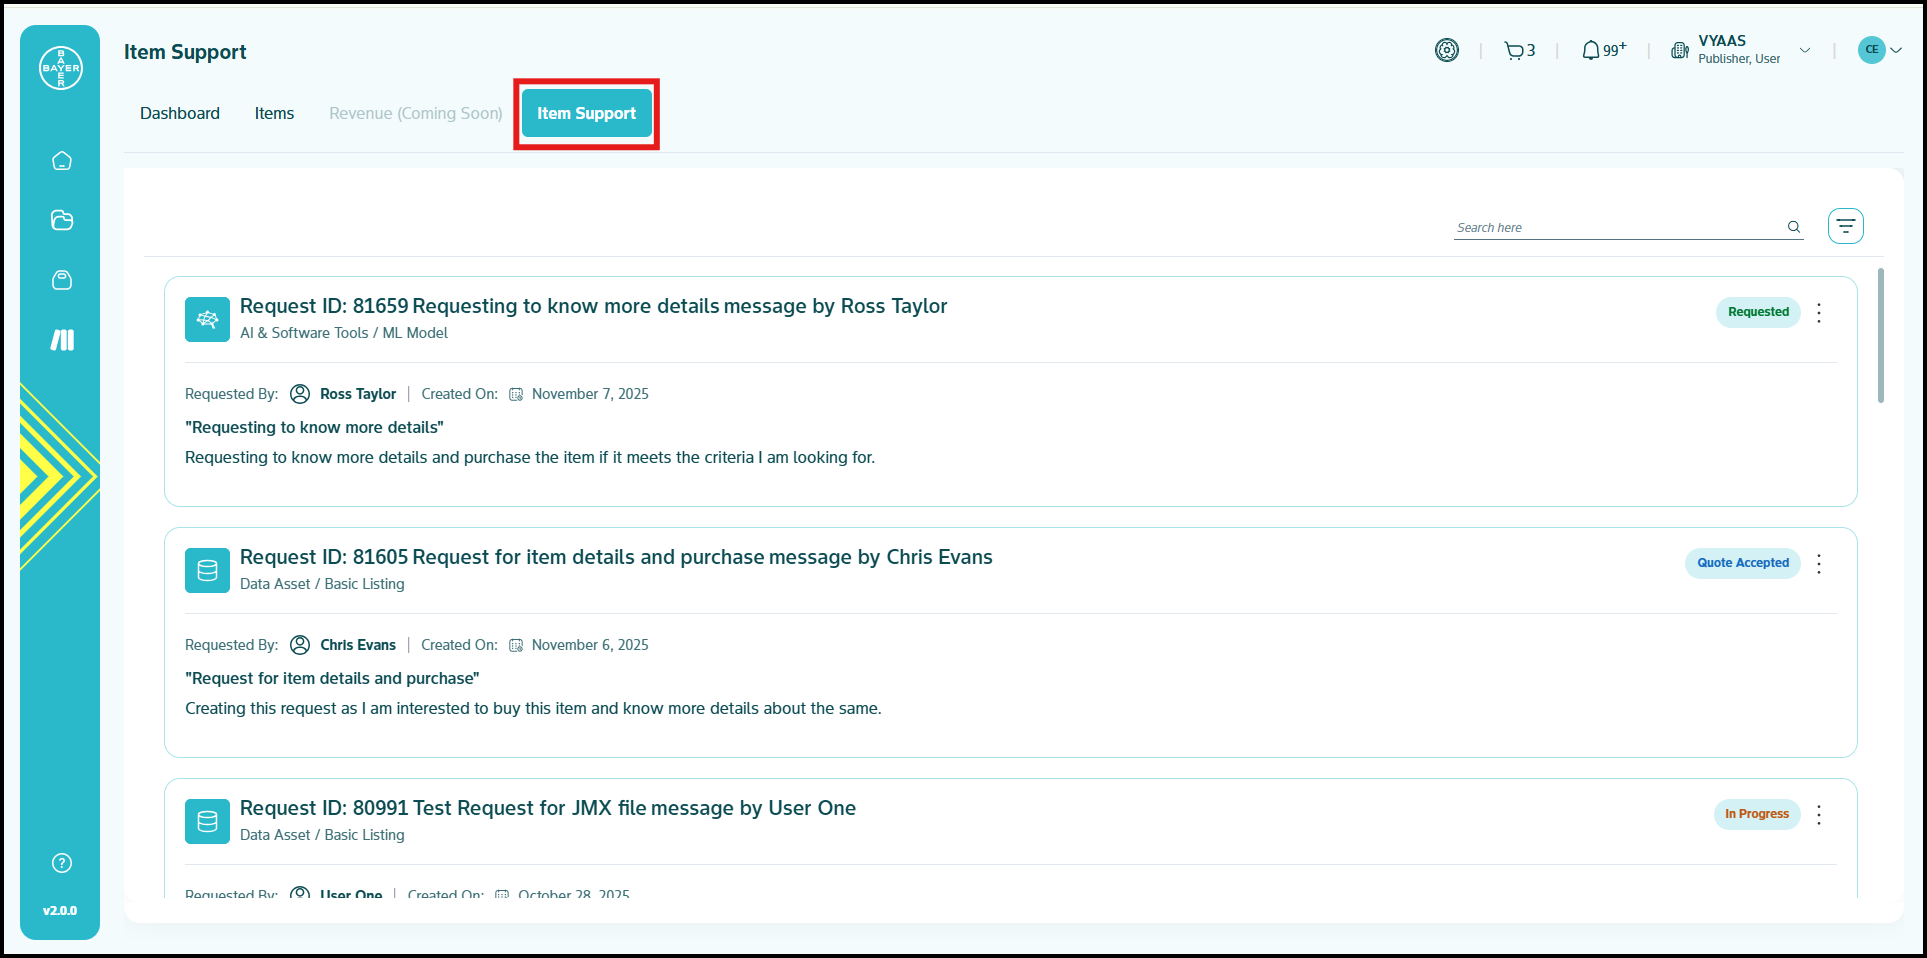
In addition to the "Items" tab, the Publishing Center includes two other important pages accessible from the main navigation:
- Revenue (Coming Soon): This page allows you to track the overall financial performance of your items across the Marketplace, providing a consolidated view of your earnings.
-
Item Support: This feature acts as a customer service tool, enabling you to track and communicate directly with customers regarding your published data items, facilitating support and addressing inquiries.
Appendix: Prerequisites and Specifications
This section provides detailed information on cloud storage prerequisites and the specifications required for different item categories.
Prerequisites for Cloud Storage
If your item's source files are stored on a cloud storage service, you must configure the necessary permissions to allow the Marketplace to securely access them.
Google Cloud Platform: Publishing Items from an External Google Cloud Platform Environment
To pull data from a Google Cloud Platform environment that is external to the platform, you need to grant specific permissions at both the project and bucket levels.
Project-Level Permissions:
-
Grant Access to Storage Transfer Service:
- Open the Google Cloud Console and go to the IAM page.
- Click "GRANT ACCESS".
- In the "New principals" field, enter:
project-905307810689@storage-transfer-service.iam.gserviceaccount.com - Select the role "Storage Insights Collector Service" from the "Assign roles" dropdown.
- Click "SAVE".
-
Grant Access to MP API:
- Repeat the steps above, but this time enter the following in the "New principals" field:
mp-api@pbeat03002010-qa-f25e-rdl-mark.iam.gserviceaccount.com - Assign the same role: "Storage Insights Collector Service".
- Repeat the steps above, but this time enter the following in the "New principals" field:
Bucket-Level Permissions:
-
Select Your Bucket: Go to Cloud Storage and choose the bucket containing the data you want to import.
-
Grant Access to Storage Transfer Service:
- Click the "PERMISSIONS" tab.
- Click "GRANT ACCESS".
- In the "New principals" field, enter:
project-905307810689@storage-transfer-service.iam.gserviceaccount.com - Select the role "Storage Object Viewer" from the "Assign roles" dropdown.
- Click "SAVE".
-
Grant Access to Marketplace API:
- Repeat the steps above, but this time enter the following in the "New principals" field:
mp-api@pbeat03002010-qa-f25e-rdl-mark.iam.gserviceaccount.com - Assign the same role: "Storage Object Viewer".
- Repeat the steps above, but this time enter the following in the "New principals" field:
Note
- Keep these permissions in place until your items are successfully published.
- For buckets located within the platform, permissions are automatically configured.
Azure: Prerequisites for Pulling Data from Azure Storage
To pull data from an Azure Storage container, you need to configure access using a Shared Access Signature (SAS) token.
Step-by-Step Instructions
-
Sign in to Azure Portal: Log in to the Azure portal.
-
Navigate to your Azure Storage account. You can typically find this by searching for "Storage accounts" in the search bar.
-
Locate Shared Access Signature: Within your Storage account settings, look for the "Shared access signature" section in the left-hand menu. This is usually located under the "Security + networking".
-
Configure SAS Token Settings:
- Allowed Services: Select Blob as the allowed service.
- Allowed Resource Types: Select Service and Object as the allowed resource types.
- Permissions: Select the necessary permissions for the data transfer. Common permissions include:
- Read: Required to retrieve data.
- List: Required to list the contents of the container.
- Optional: Delete: Include this permission only if you intend to delete objects from the source container after they are transferred.
- Allowed Protocols: Choose HTTPS only for secure communication.
- Select the required Blob permissions
- Start/Expiry Times: Set the start and expiry times for the SAS token. Ensure the expiry time is sufficient to complete the data transfer, especially for large volumes of data.
- Allowed IP addresses: Do not specify any IP addresses in this field. The Storage Transfer Service uses various IP addresses and does not support IP address restrictions.
-
Generate SAS and Connection String: After configuring all the settings, click on the Generate SAS and connection string button.
-
Save Credentials: The portal will display the generated SAS token and the Blob service SAS URL. Important: You will need the SAS token and the Blob Endpoint (which is part of the Blob service SAS URL, typically in the format
https://[yourstorageaccountname].blob.core.windows.net/) to configure the Storage Transfer Service within the Marketplace publish activity. Copy and securely store these values.
Best Practices
- Grant only the minimum necessary permissions to the SAS token.
- Set an appropriate expiry time for the token to limit its validity.
- Store the generated SAS token securely.
Amazon Web Services: Prerequisites for Pulling Data from Amazon Web Services S3
To pull data from an Amazon Web Services S3 bucket, you need to create an Access Key (consisting of an Access Key ID and a Secret Access Key) for an IAM user with appropriate permissions.
Step-by-Step Instructions
-
Sign in to Amazon Web Services: Log in to your Amazon Web Services account using the Amazon Web Services Management Console.
-
Navigate to IAM: Open the IAM console. You can do this by searching for "IAM" in the search bar or navigating to the IAM service under "Security, Identity, & Compliance".
-
Create an Access Key:
- Go to the Users section in the left-hand navigation pane.
- Select the IAM user or account you want to use for accessing the S3 data.
- Go to the Security credentials tab for that user.
- Under the "Access keys" section, click on the Create access key button.
-
Configure Access Key Details:
- You will be prompted to select a use case. Choose the option that best fits (e.g., "Application running on EC2," "Local code," etc.). You can also select "Other" and provide a description.
- Click Next.
-
View and Save Keys:
- After creating the access key, you will see the Access Key ID and the Secret Access Key.
- Important: This is your only opportunity to view and save the Secret Access Key. You will not be able to retrieve it again after this step.
- Click the Show button to reveal the Secret Access Key.
- Copy both the Access Key ID and the Secret Access Key.
- Securely save these keys. You can download a .csv file containing the keys, but it is recommended to copy and paste them into a secure location immediately.
Note
Ensure the IAM user whose access key you are using has Read-only permission on the source S3 objects you intend to pull. Granting only read permissions is a security best practice. These keys are used by the Marketplace during the publish activity to access your S3 data.
Notes, Tips, or Best Practices
- Grant only the minimum necessary permissions (Read-only) to the IAM user for accessing the S3 bucket.
- Regularly rotate your access keys for enhanced security.
- Store the generated Access Key ID and Secret Access Key securely.